RIO Ready: Transcript Generation Functionality Setup
Transcript Generation Functionality Setup Guide.
To quickly setup the transcript generation functionality, please follow the following steps:
Pre-requisite:
Ensure that you have already installed RIO Ready - Community Transcript here.
Step 1: S-Docs
- Login to Salesforce and go to Setup.
- From Setup, click on Object Manager.
- In the Quick Find box, enter Installed Packages. Search for S-Docs.
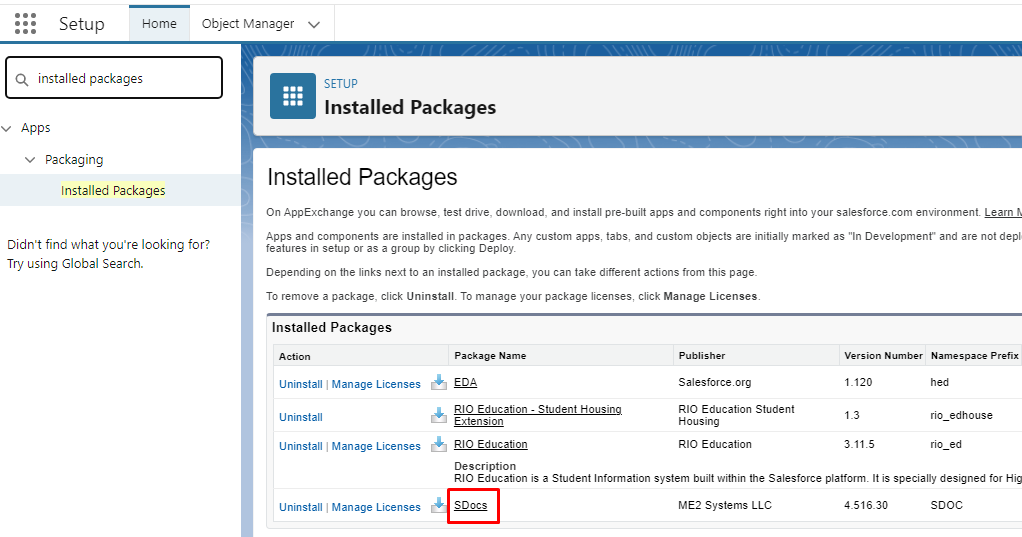
- If you are unable to find it, it means the S-Docs package is yet to be installed. You can install it here.
- Once you have installed it, you will need configure it with custom object. Please follow the steps here to link it to the Program Enrollment object.
Step 2: Custom Button (Action)
- The custom button “Generate Transcript” can only be made available only when S-Docs is installed.
- If S-Docs is already in place, go to Setup.
- From Setup, click on Object Manager.
- In the Quick Find box, enter Program Enrollment. Click into the object.
- In Page Layouts, edit “RIO Education Program Enrollment Layout”.
- Include the “Generate Document” action into the layout and Save.
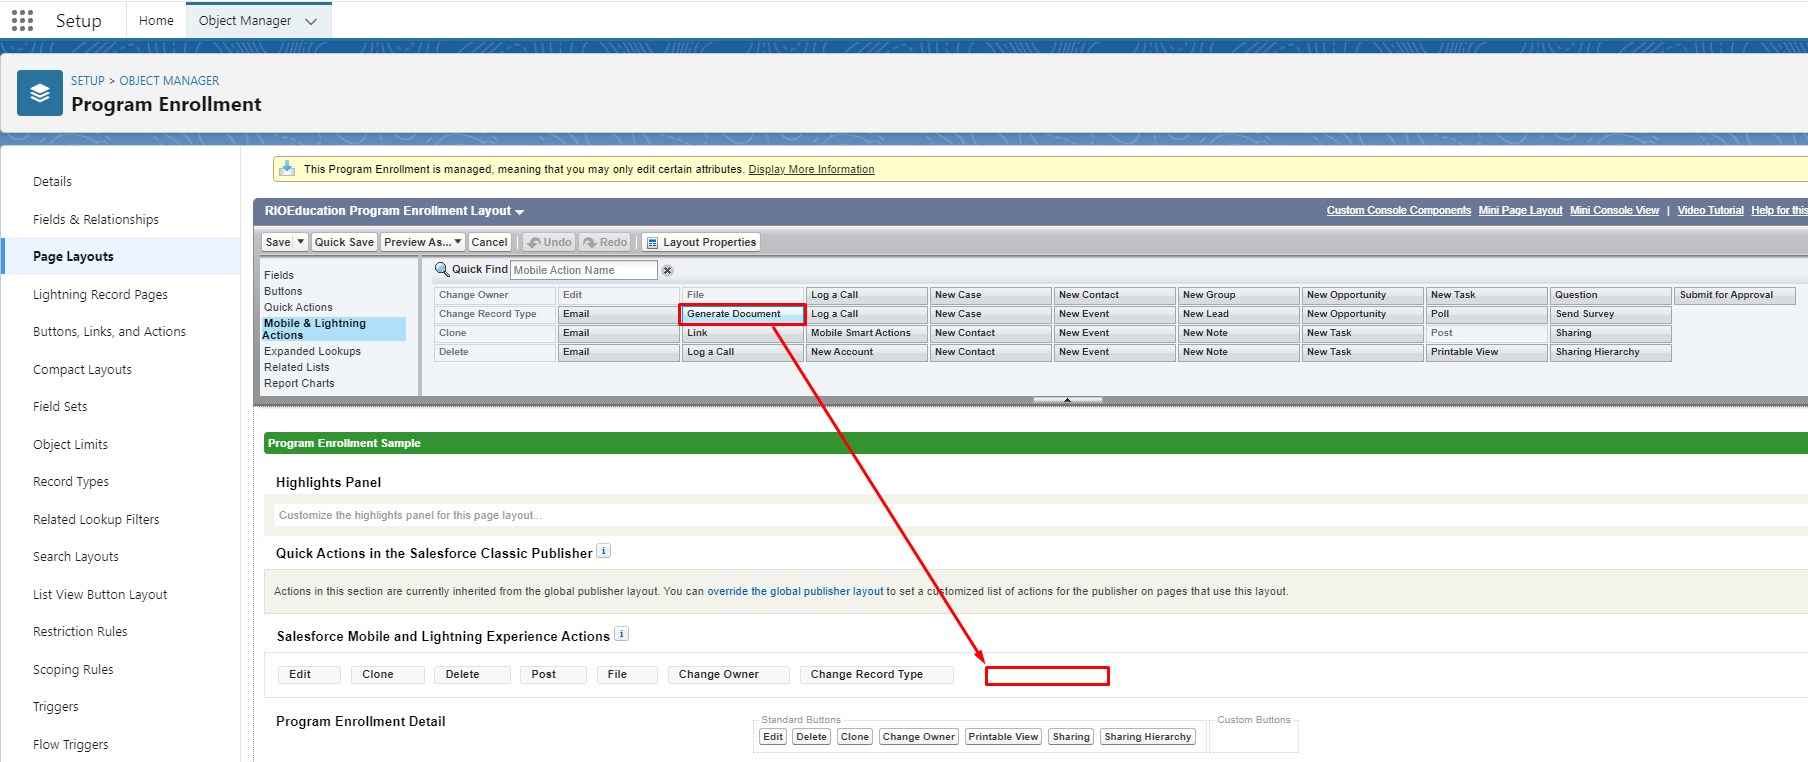
- If the action is not found, follow the steps below to create one.
- From Setup, click on Object Manager.
- In the Quick Find box, enter Program Enrollment. Click into the object.
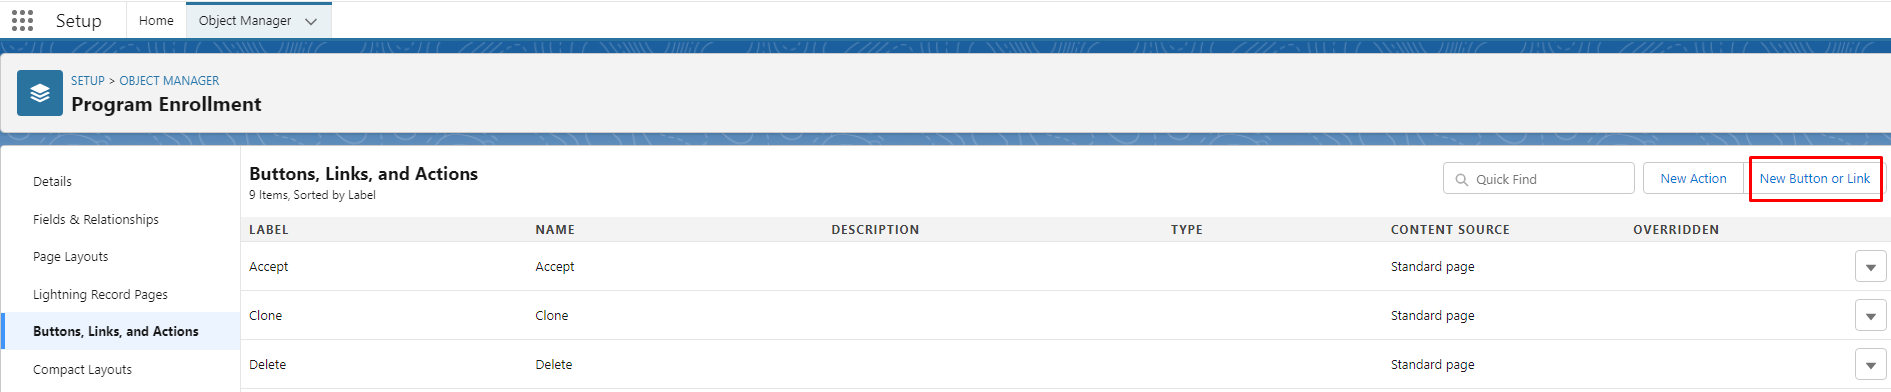
- Click on Buttons, Links, and Actions.
-
Click on New Button or Link.
-
Enter the following details:
- Label: Generate Transcript
- Name: This will be auto-populated
- Display Type: Detail Page Button
- Behaviour: Display in existing window without sidebar or header
- Content Source: URL
- Button or Link URL: {!URLFOR('/apex/SDOC__SDCreate1', null,[id=hed__Program_Enrollment__c.Id, Object='hed__Program_Enrollment__c'])}
Step 3: Transcript Template
- The transcript template can only be made available only when S-Docs is installed.
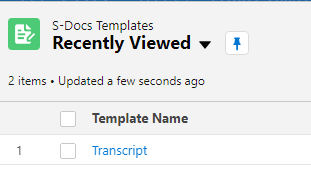
- If S-Docs is already in place, search for S-Docs app from the app switcher.
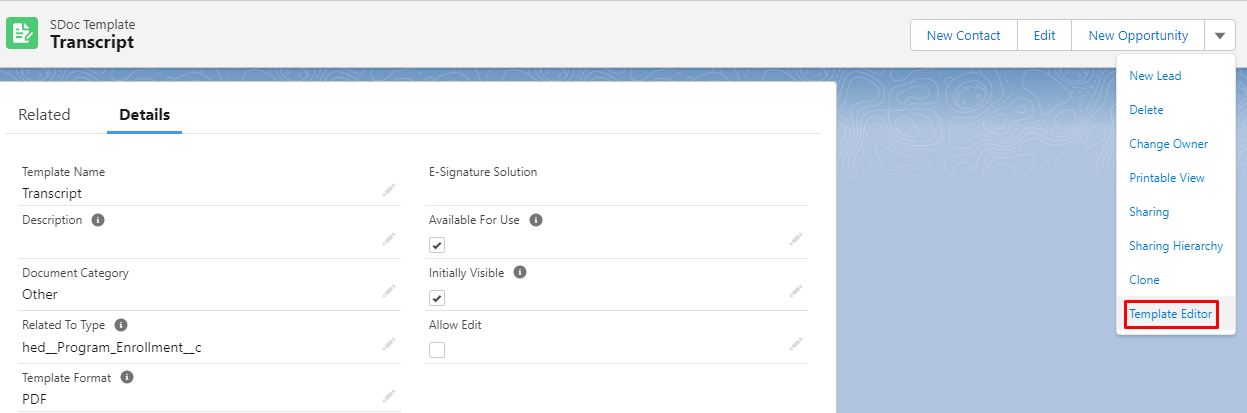
- Click on the S-Docs Templates and look for Transcript. This is a ready-template for you to use.
You can change the logo with the following steps:- Go to the Template Editor (button on the top-right of the Transcript record).
- Click on the Header tab. Replace the RIO logo.
- Save and Close.
- If you are not able to find the Transcript template record, then follow the steps here to create a new one.
- Make sure that the Template Name is set to “Transcript”.
- Set the "Related To Type" to "hed__Program_Enrollment__c".
- Set the "Template Format" to "PDF".
- Make sure that "Available For Use" is checked.
- Open the "Template Editor" from the menu on the top right.
- Copy the text contained in the file below:
RIO Ready Transcript.txt - Paste that text into the Template Body section.
Step 4: Update Custom Setting
- Navigate to Setup >> Custom Settings >> click "Manage" next to RIO Education Settings.
- Update File Sharing Prefix with the value: Official_Transcript
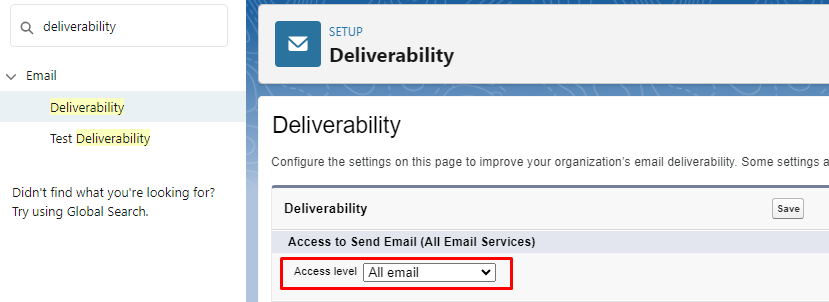
Step 5: Update Email Deliverability
- Navigate to Setup >> Email >> Deliverability.
- Set Access Level to "All email".
Setup is now completed.
The admin user can generate the transcript from the student's Program Enrollment record.

From here, the admin user can send the transcript to the student's email.
