Setting up Student and Faculty Communities
How to set up Digital Experience (Student and Faculty Community) from scratch
Table of Contents
Overview
This is a high level overview of setting up Student and Faculty Communities, which are portals for students and faculties respectively.
This will cover the minimum required functions that you will need to set up.
If you require extra functions or customization, you can refer to their dedicated instruction guides (links will be provided throughout this article).
Preliminary setup
If you are creating a Community from a blank instance (from scratch), please carefully follow the instructions in this installation guide here.
- If you have already installed EDA and RIO Education, you do not need to install them again.
- If you have already installed the relevant RIO Ready components below, you do not need to install them again.
- In order to use the installer, make sure your RIO Education org has Customer Community Login licenses.
If it doesn't have that license, then, the Community needs to be installed manually.
- You will first need to install EDA and enable Digital Experiences.
- Follow the instructions in step 1 in the installation guide above.
- Follow the instructions in step 1 in the installation guide above.
- Ensure that RIO Education (and its metadata) are installed.
- Follow the instructions in step 2 in the installation guide above.
Required RIO Ready components
Make sure that you have installed at least these RIO Ready components:
These are the components used in this setup guide below.
These are also the minimum RIO Ready components that are needed for building a Community.
These can be installed here.
Other RIO Ready components (if you need them)
There are also other RIO Ready components that you may install , if your use case requires them.
| RIO Ready - Scholarship |
If you are offering scholarships. See here. |
| RIO Ready - Student ID |
To generate student IDs. See here. |
| RIO Ready - Student Request |
For students to raise support requests. See here. |
| RIO Ready - Community Transcript |
For students to request for transcripts. See here. |
| RIO Ready - Housing Application Form |
If you are offering student housing / accommodation. See here. |
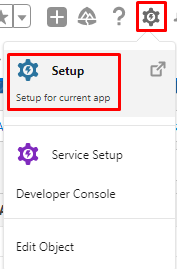
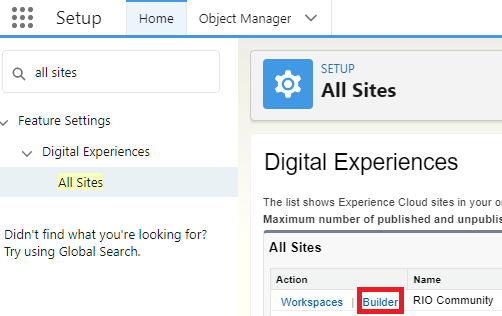
Note: After installing 'RIO Ready - RIO Education Community', you can set up the Community here: Setup > Digital Experiences > All Sites > Builder.
Student Community
The Student Community is a portal for students (and new applicants).
This is where students will apply for Programs and enroll to Courses. They can also view their grades and book appointments with faculties / consultants.
Home (Guest)
Info
This is the first page that users who are not logged in will see. From here, they can proceed to log in / sign up.
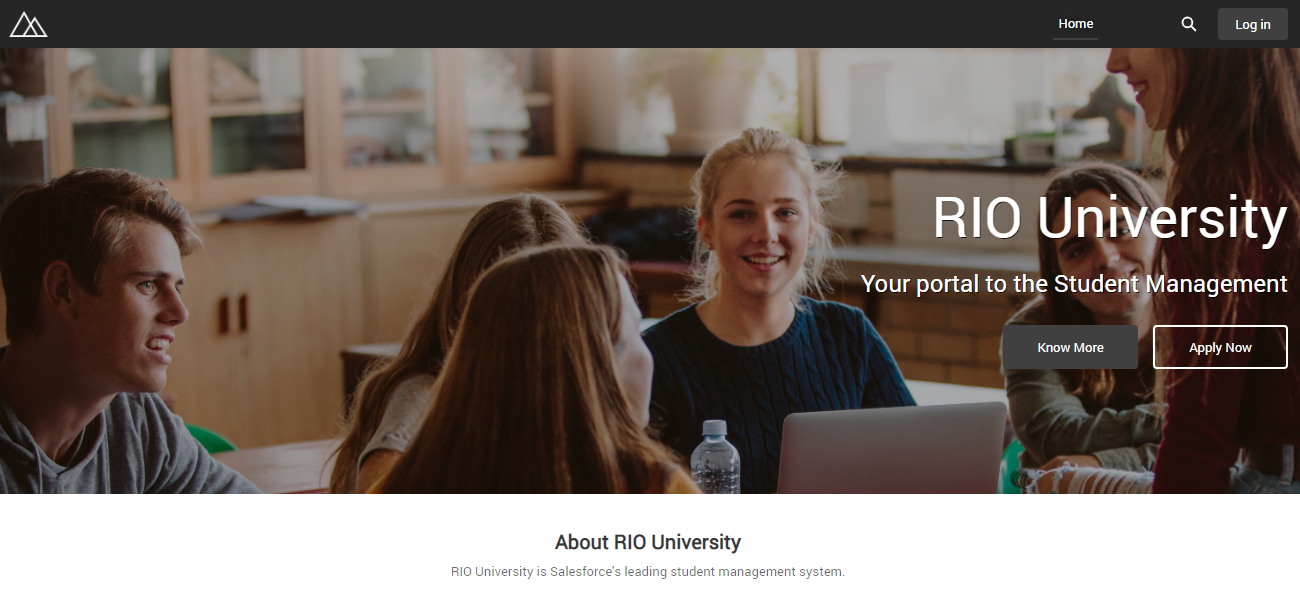
This is located in the Home (Guest) page in the Builder.
You can customize the background image, text, etc. See 'Other setups' for more details.
DeleteLog in
Info
Upon clicking on 'Log In' from the landing page, users will be prompted to enter their login credentials.
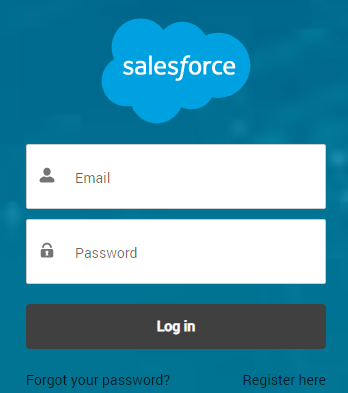
This is located on the 'Login' page in the Builder. You can customize the background image, logo, etc.
See here for a setup guide.
DeleteSign up
Info
New applicants can sign up as Community users, either by clicking on 'Apply Now' from the Landing Page, or by clicking on 'Log In' > 'Register Here'.
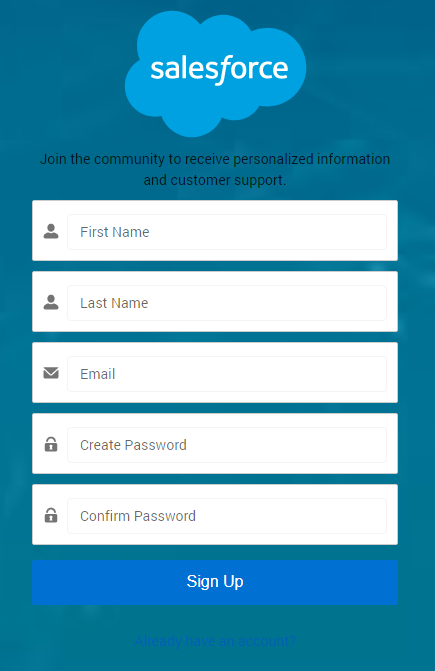
This is located on the 'Register' page in the Builder. You can customize the background image, logo, and also set up a reCAPTCHA function.
See here for a setup guide.
DeleteHome (Student)
Info
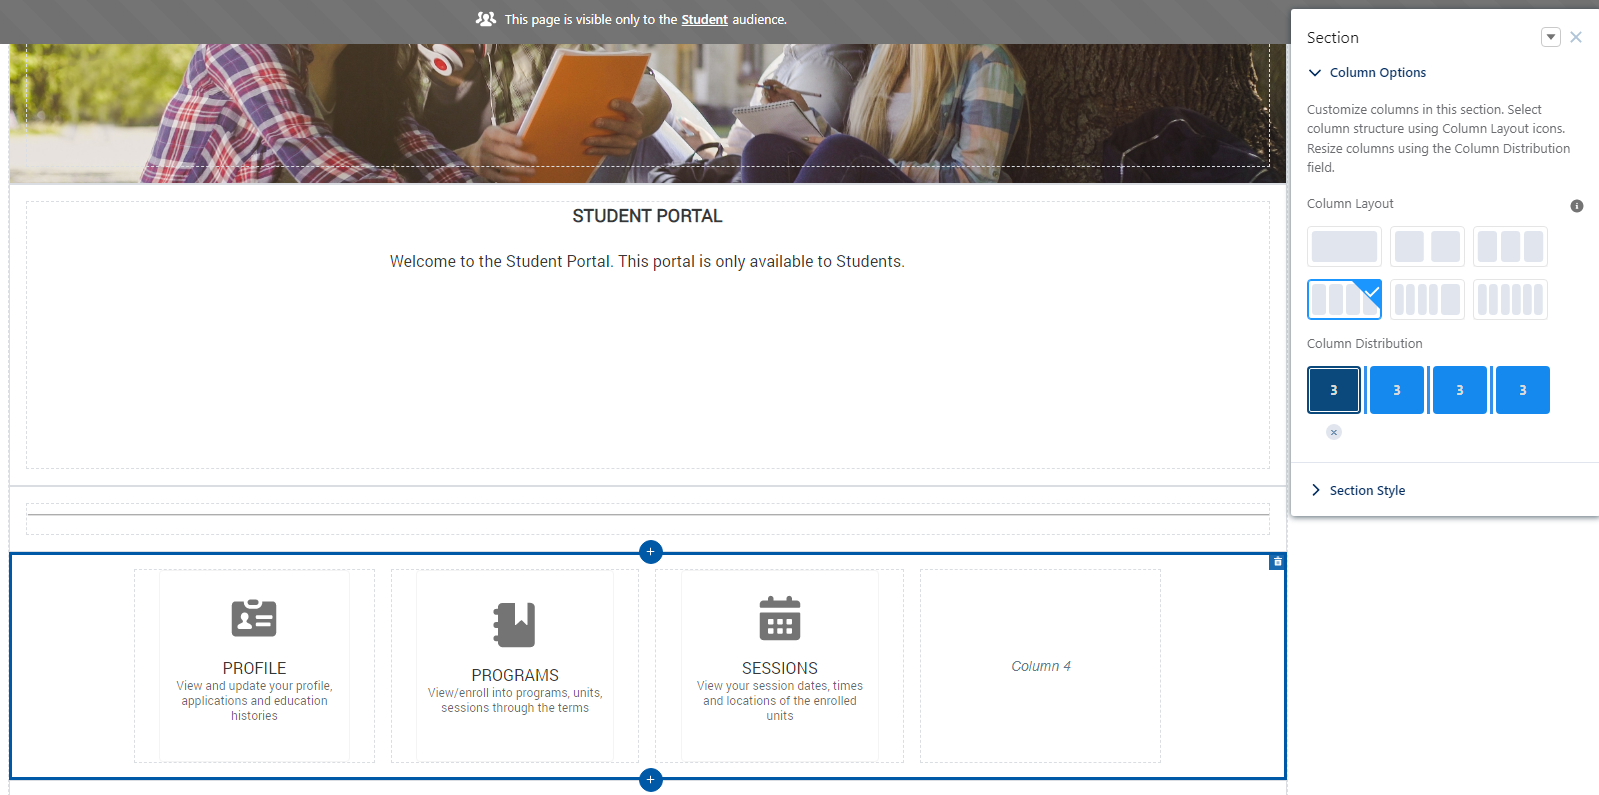
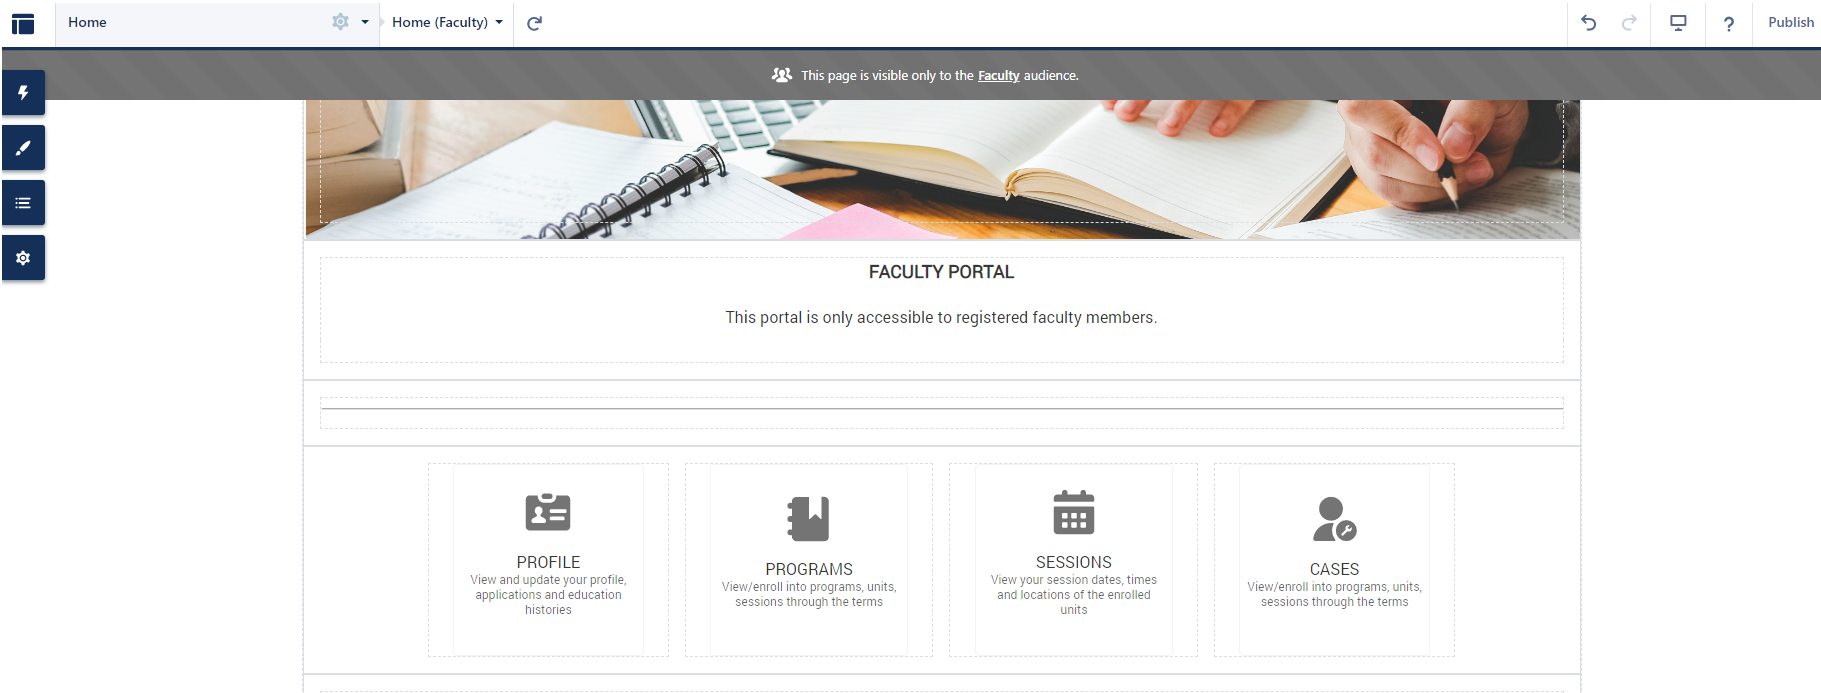
Upon successfully logging in or signing up, the user will see the home page of the Student Community.

This is located on the 'Home (Student)' page in the Builder. By default, there are 4 pages that you can navigate to, by clicking on the 4 tiles.
But you can customize this by adding multiple RIO Ed - My Tile (Aura) components.
For a setup guide for the Home page, see here.
DeleteProfile
Info
This page is accessible by clicking on the 'Profile' tile on the Home page.
It contains the student's information.
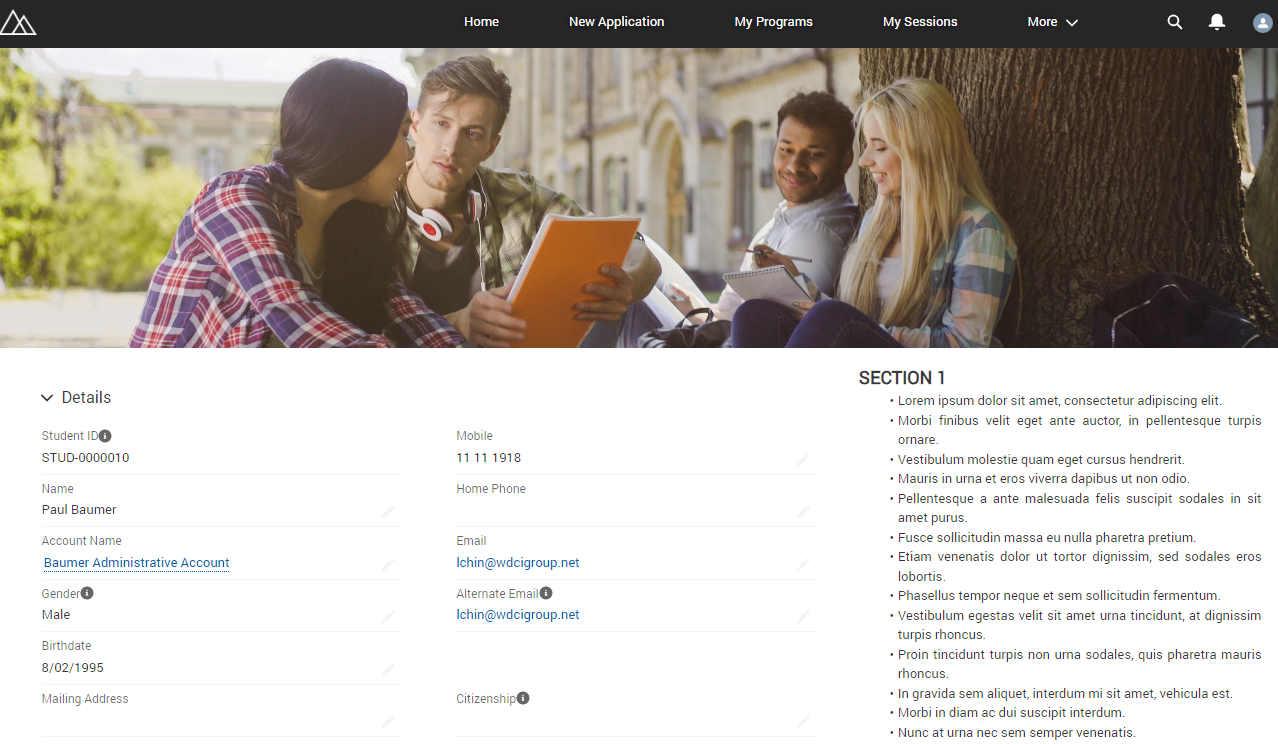
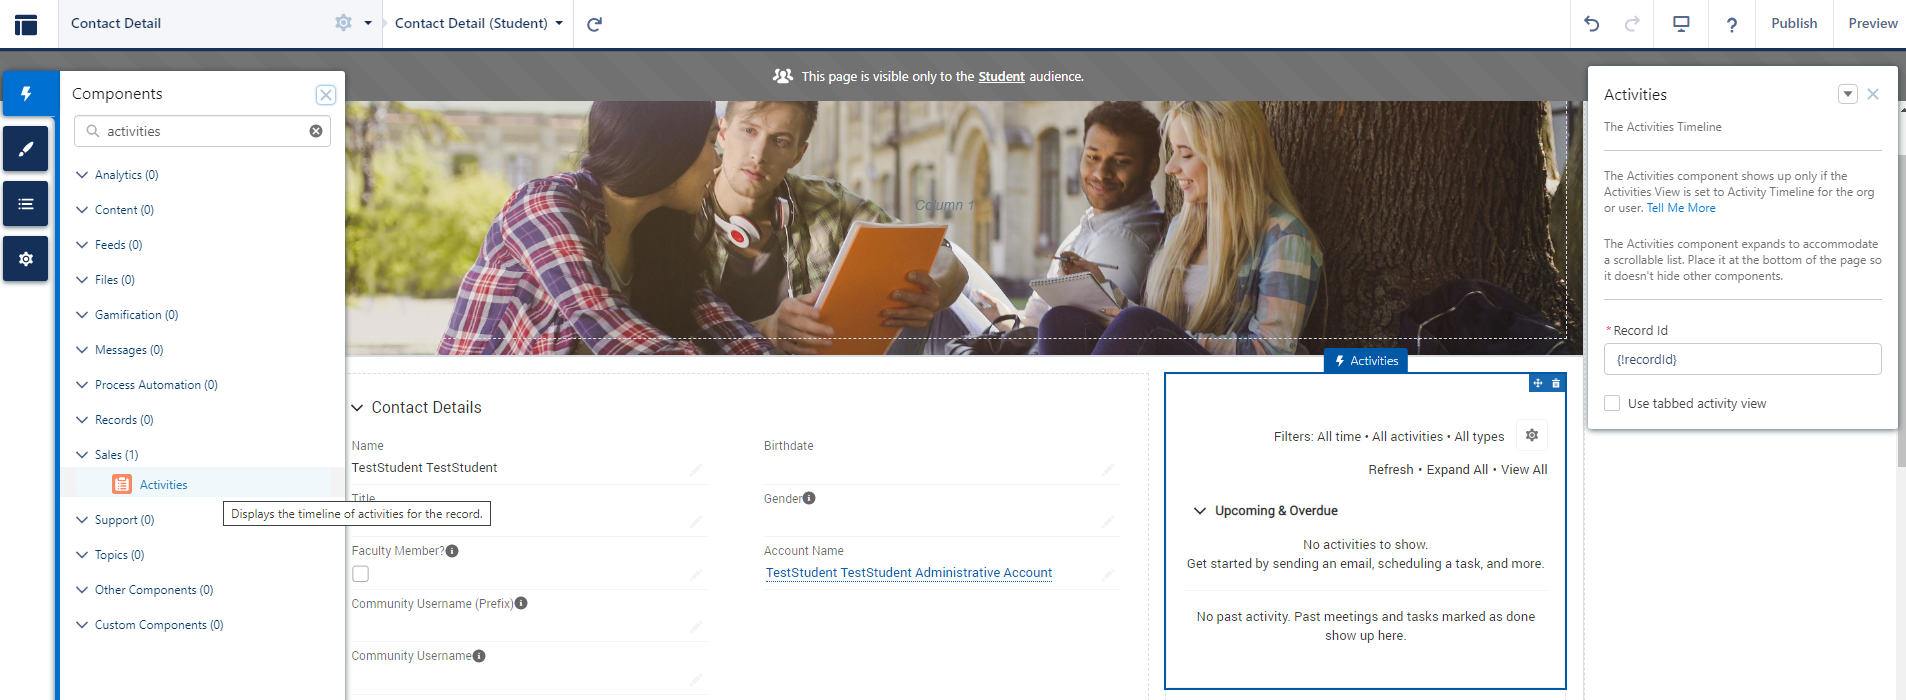
This is located on the 'Contact Detail (Student)' page in the builder.
This is already set up by default, but you can customize the background images and text.
You can also customize it by dragging and dropping other components such as Activities.
Programs
Info
This page is accessible by clicking on the 'Programs' tile on the Home page.
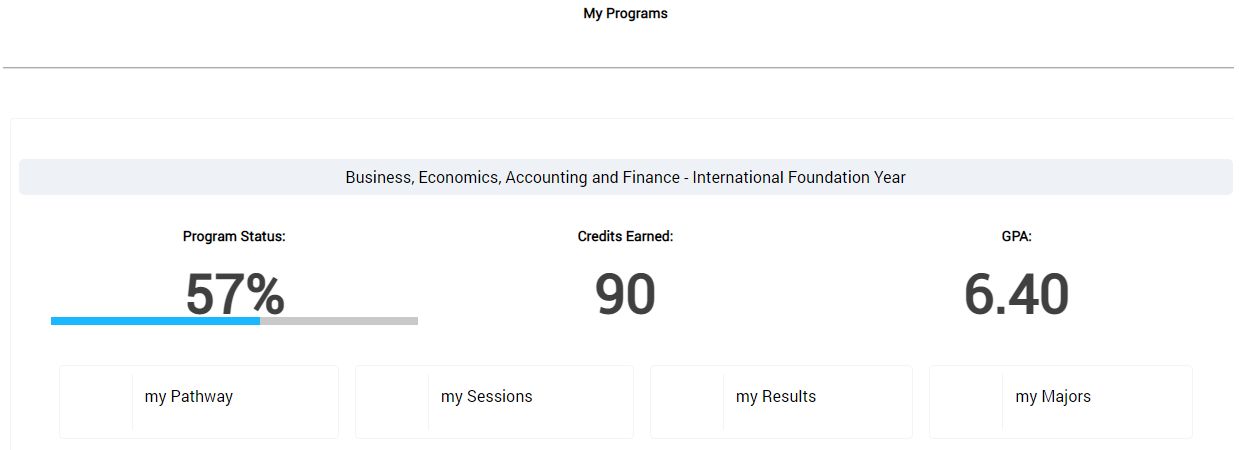
It allows students to:
- enroll to Courses and Sessions (classes) under 'my Pathway'.
- view the calendar of their Sessions under 'my Sessions'.
- view their results under 'my Results'.
- select a Major/Minor and view their results under 'my Majors'.
All these functions are controlled by the RIO Ed - My Program (Aura) component, which is located on the 'My Program (Student)' page in the Builder.
You can configure the component to meet your requirements. For example, to hide the 'Enroll' buttons for student view, so that only the university staff will enroll the students to Courses and Sessions (classes) on their behalf.
DeleteSessions
Info
This page is accessible by either:
- clicking on the 'Sessions' tile on the Home page.
- clicking on 'my Sessions' on the My Programs page.
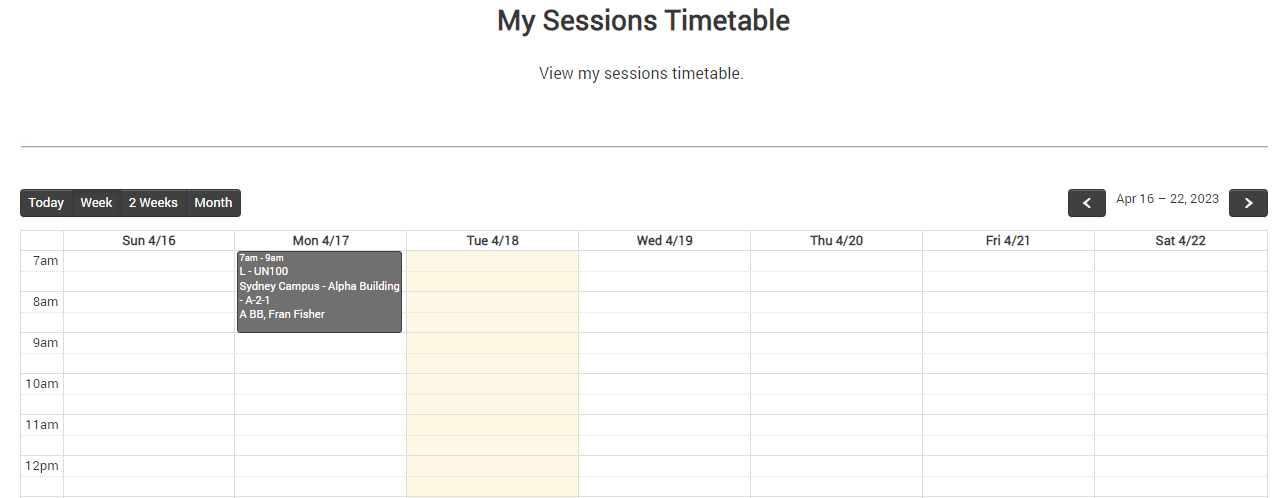
It shows a calendar of the student's Sessions (classes).
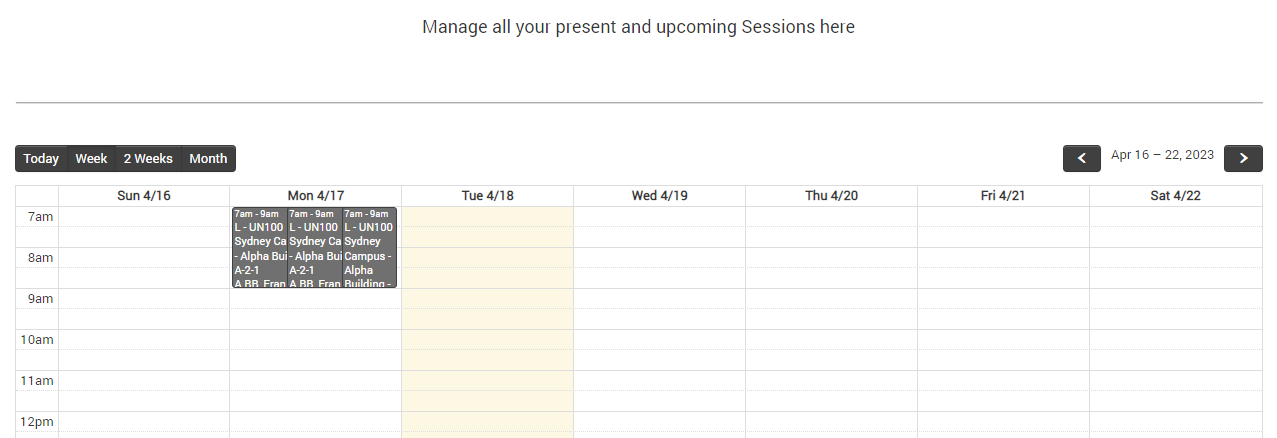
This is located on the 'My Sessions (Student)' page in the Builder.
By default, this is already set up with the RIO Ed - Calendar (Aura) component, but you can also configure its properties.
DeleteCases
Info
This page is accessible by clicking on the 'Cases' tile on the Home page.
It is located on the 'Case List' page in the Builder.
You can either:
- Customize it to allow students to support request cases (take note that you will need to install RIO Ready - Student Request first).
See here for a setup guide.
- Develop your own system.
- Not use this page at all, if your business requirement does not need this. You can either unpublish this page, or remove the navigation access to this page.
See 'Other setups' > 'Add/Hide navigation access to pages' in the section below.
My Applications
Info
This page is accessible by clicking on the 'New Application' button on the navigation menu (the bar at the top of the page).

This page contains a flow that will guide the student (or new applicant) to apply for an academic program.
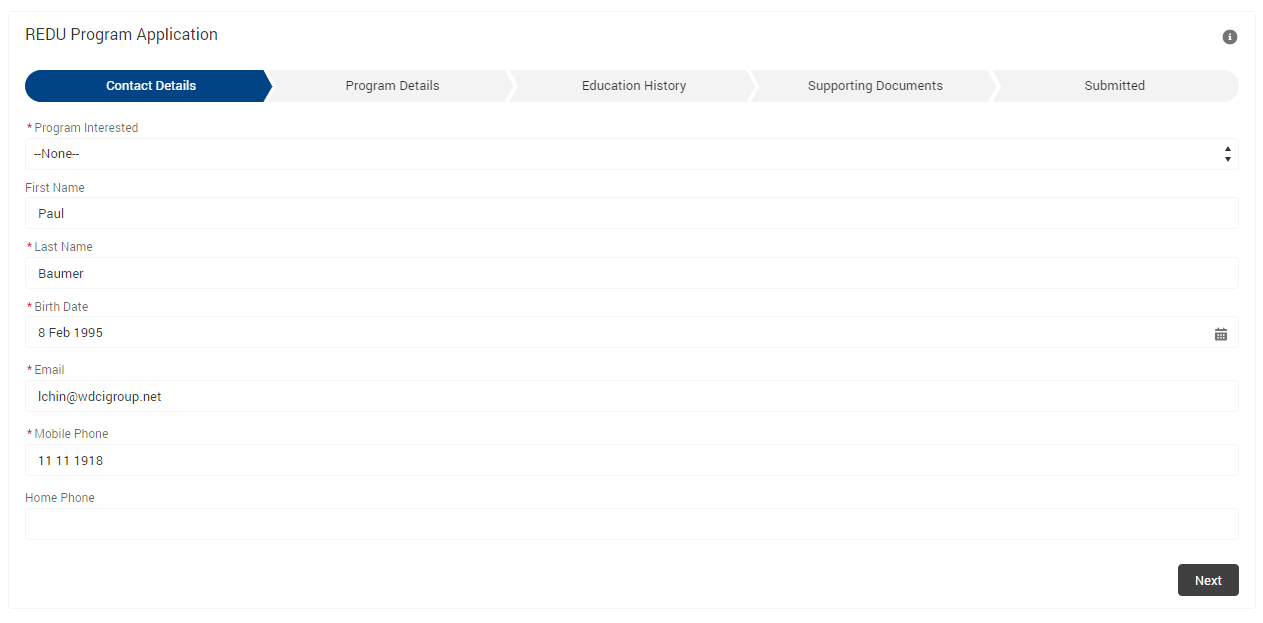
This is located on the 'My Applications' page in the Builder.
See here for a setup guide.
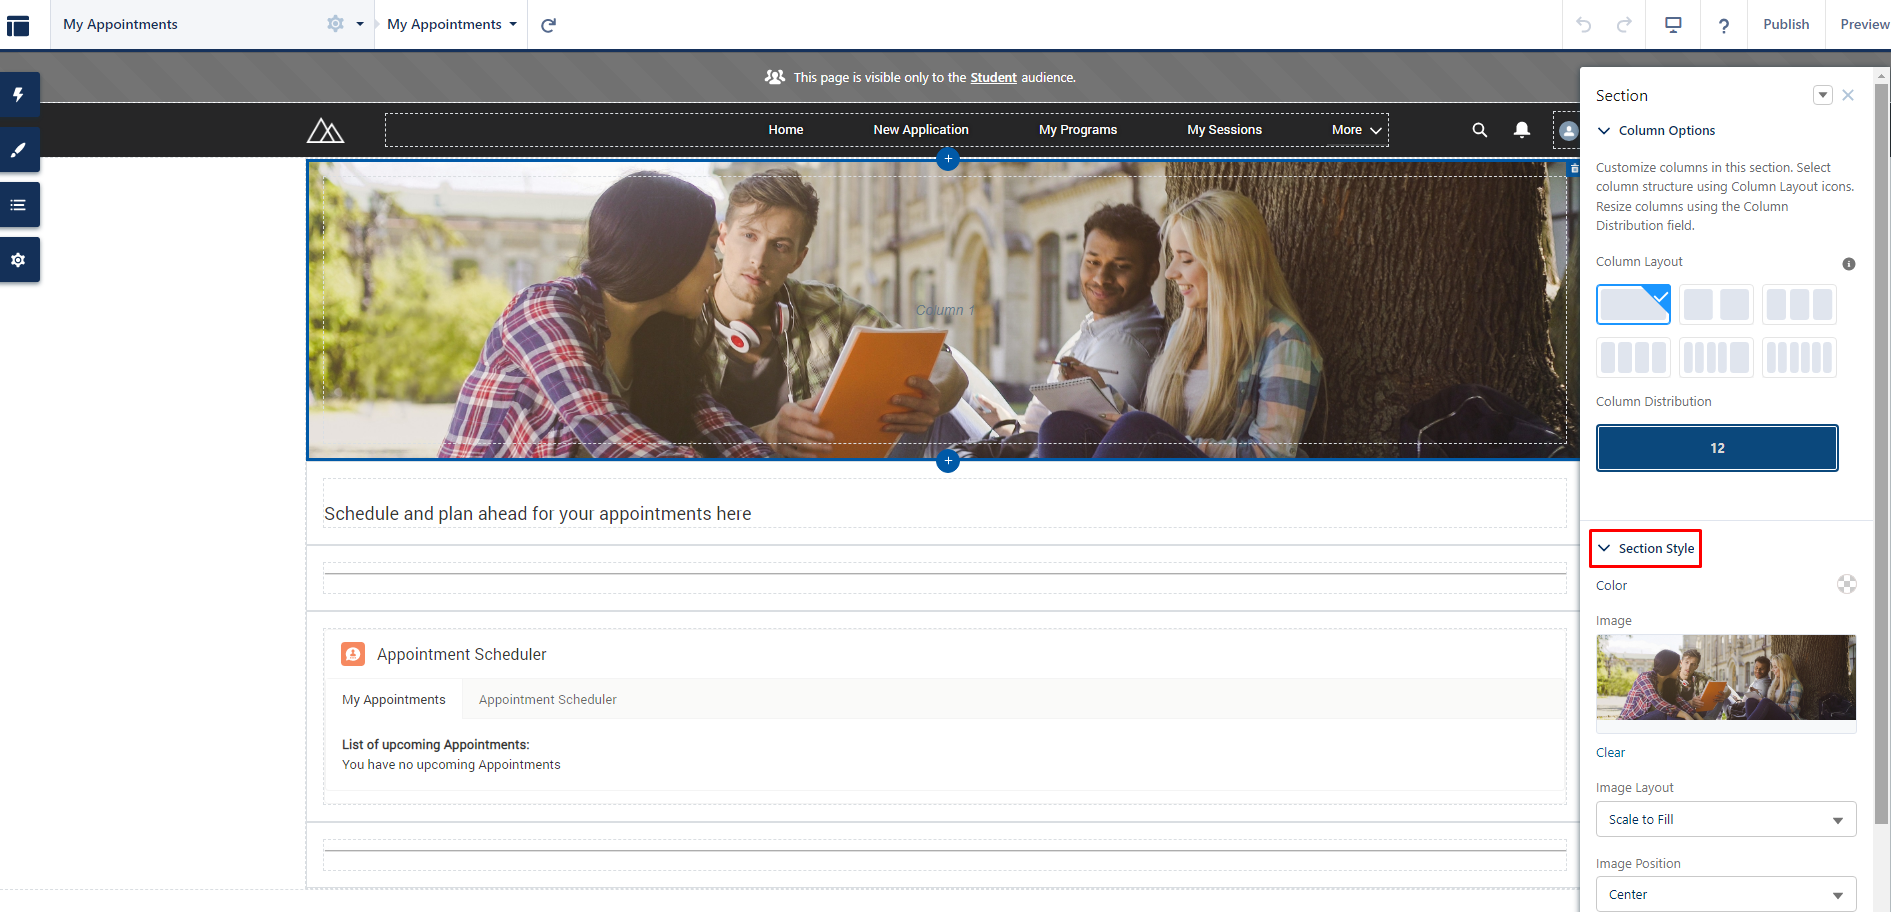
DeleteMy Appointments
Info
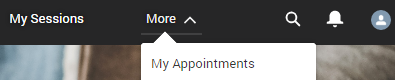
This page is accessible by clicking on the 'My Appointments' button on the navigation menu (the bar at the top of the page).

This allows students to book appointments with consultants (faculties), e.g. to review their progress or performance.

This is located on the 'My Appointments' page in the Builder.
This is already set up by default, but you can customize the background images and text.
You can also configure the properties of the RIO Ed - Appointment Scheduler component, e.g. prevent students from selecting rooms.
DeleteOther optional pages
My Transcript
** This will require you to install S-Docs and the RIO Ready: Community Transcript first.
Students can click on 'My Transcript' on the navigation menu at the top of the page, to request the transcript for their enrolled programs.


This is located on the 'My Transcript' page in the Builder.
See here for a setup guide.
Note:
- This function uses S-Docs, but you can develop your own system.
- You can also choose not to use this page at all, if your business requirement does not need this. You can either unpublish this page, or remove the navigation access to this page.
See 'Other setups' > 'Add/Hide navigation access to pages' in the section below.
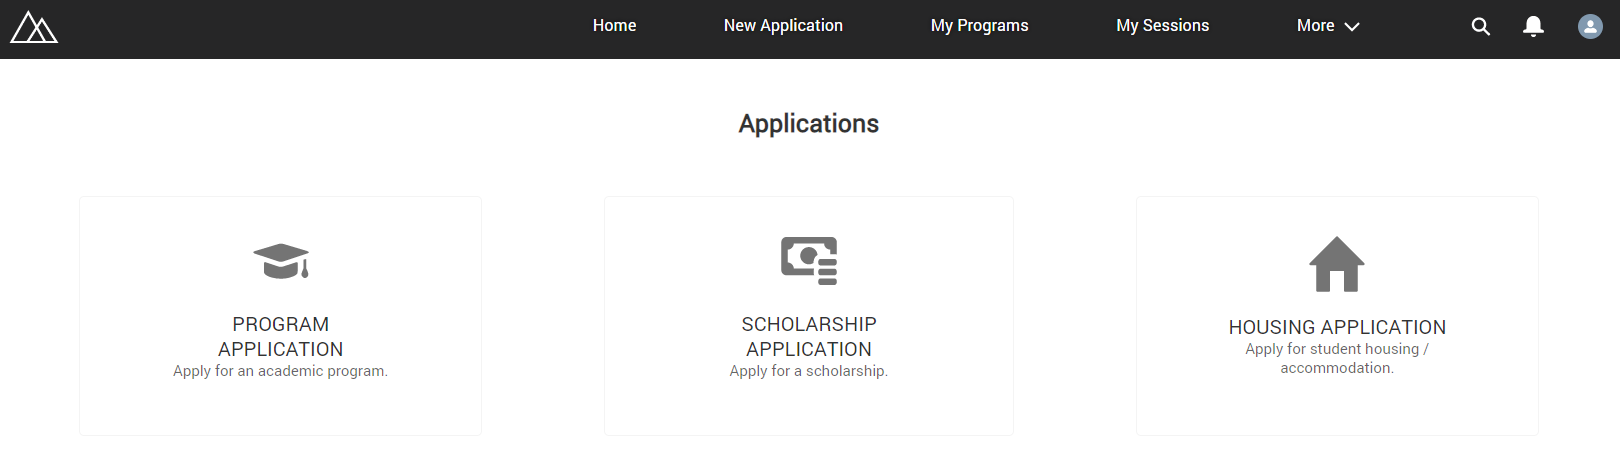
Other application pages
If your use case involves students applying for scholarship and housing (accommodation), you can follow these setup guides here:
| RIO Ready: Scholarship Functionality Setup | Requires installation of RIO Ready - Scholarship (here). |
| RIO Ready: Housing Application Form Setup | Requires installation of: |
By default, the 'New Application' button on the navigation menu will lead to the page for Program Application.

If you have the scholarship and housing applications, you will need a main page for the 3 types. See here for a setup guide.
Faculty Community
The Faculty Community is a portal for faculties.
This is where faculties will be grading the students (from the courses they teach), as well as marking students' attendances.
Faculties can also book appointments and venues (e.g. consultation rooms).
The Home (Guest) and login/self-registration will be the same here as well (see the Student Community example above).
Home (Faculty)
Info
By default (upon installation), some parts of the Home (Faculty) page looks the same as the Home (Student) page.
You will need to modify some parts of it, such as the description on the tiles (they are the same as the student equivalents by default).
You can also add/remove tiles.
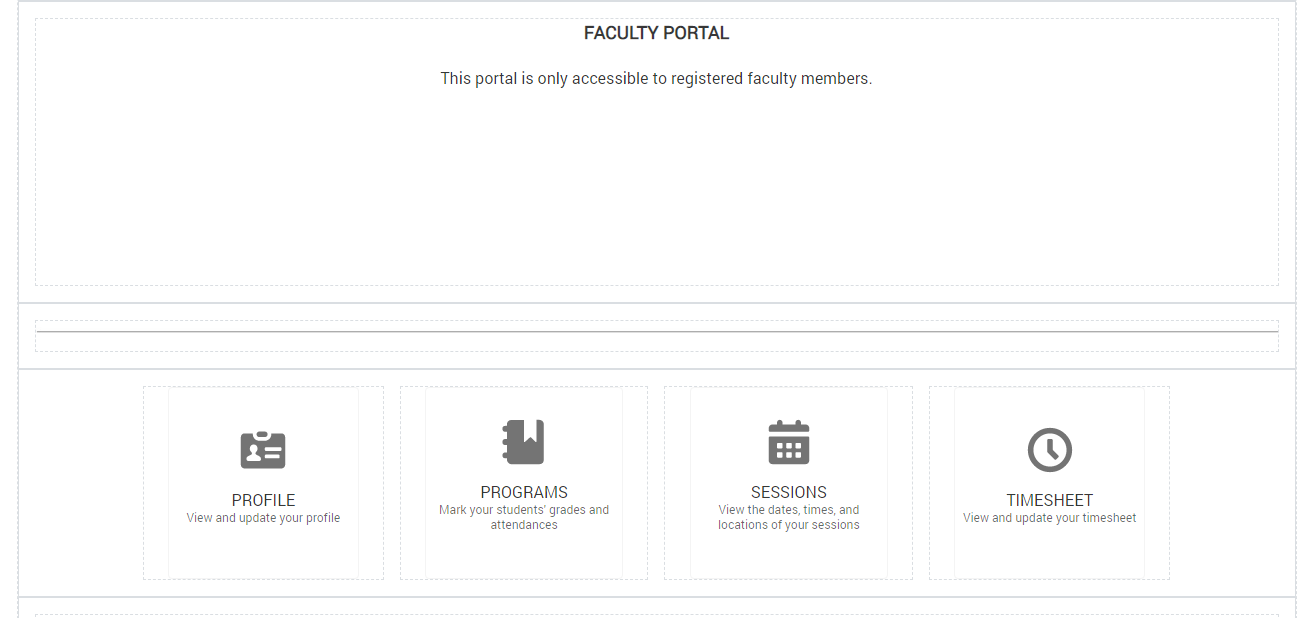
See here for a guide.
DeleteProfile
Info
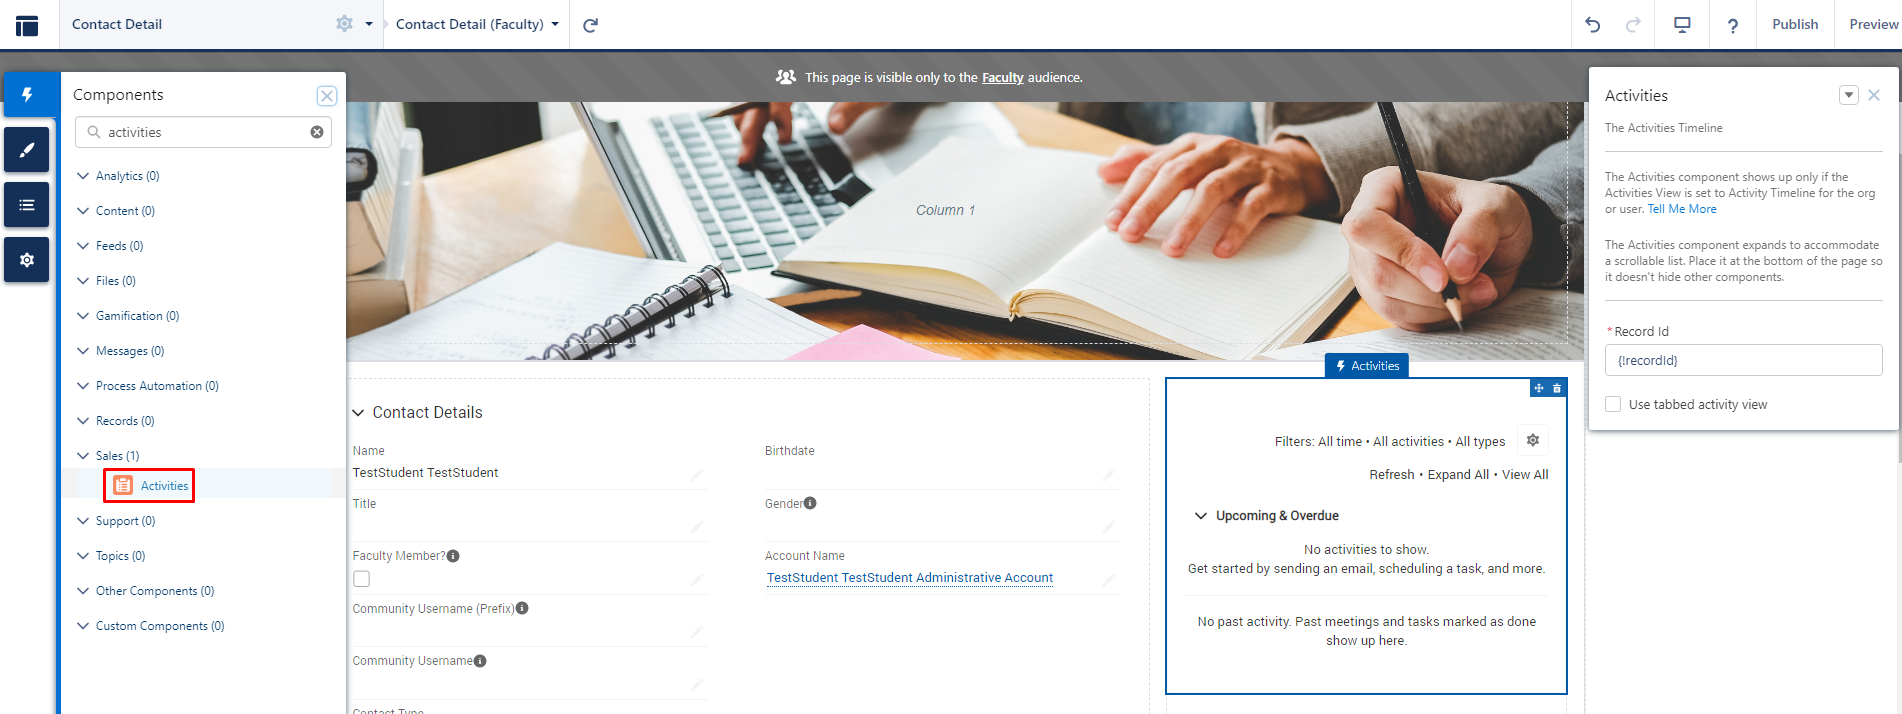
This page is accessible by clicking on the 'Profile' tile on the Home page on the Faculty Community.
In the Builder, this is the Contact Detail (Faculty) page.
You can customize it, e.g. add the Activities component.
Programs
Info
This page is accessible by clicking on the 'Programs' tile on the Faculty Community home page.
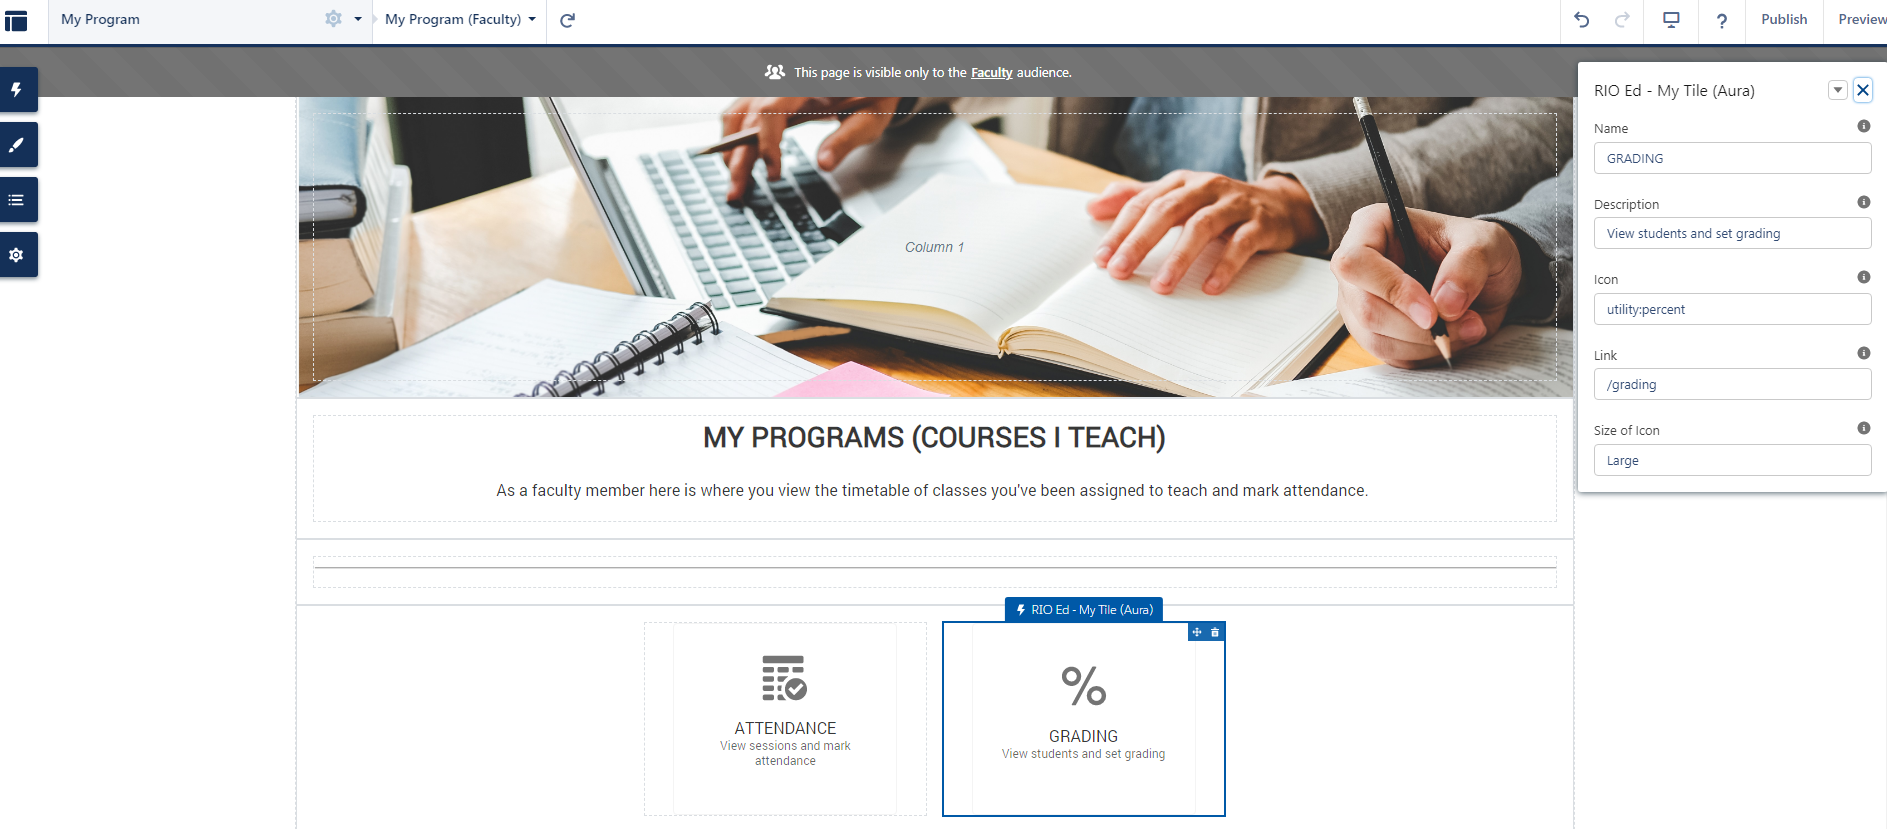
Faculties can mark students' attendances and their grades from here, by clicking on the tiles.
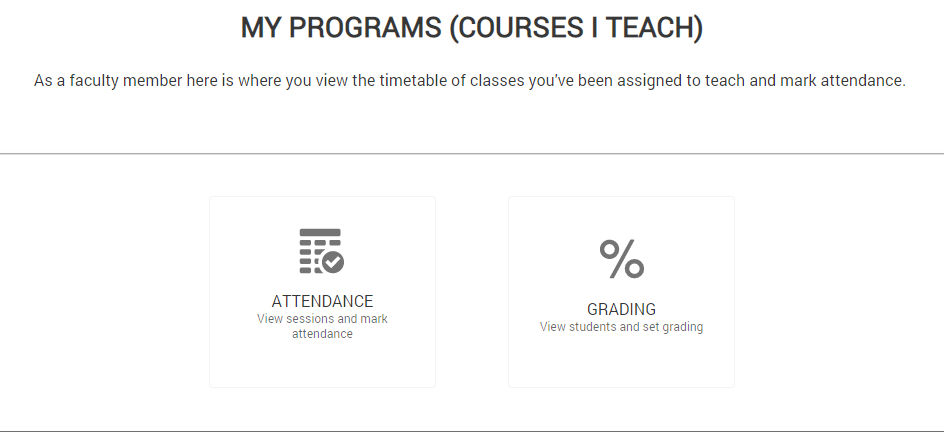
In the Builder, this is the 'My Program (Faculty)' page.
This is already set up by default, but you can customize it, e.g. change the name or icon on the RIO Ed - My Tile (Aura) component. Background images and text can be customized as well.
Attendance
Info
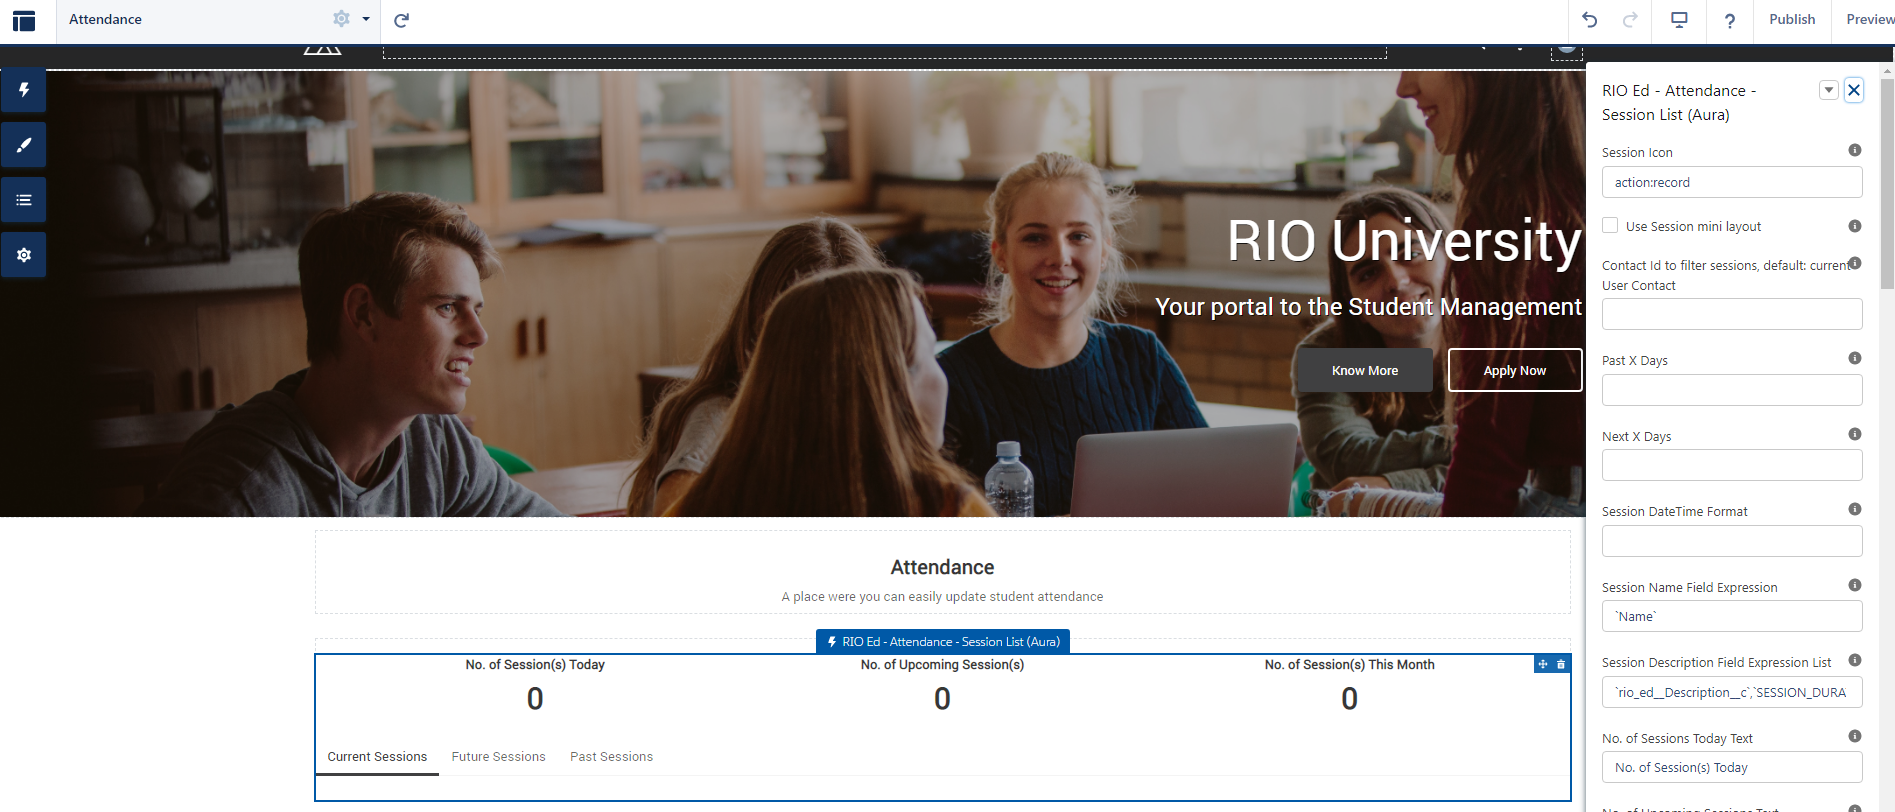
This page is accessible by clicking on the 'Attendance' tile on the 'Programs' page.
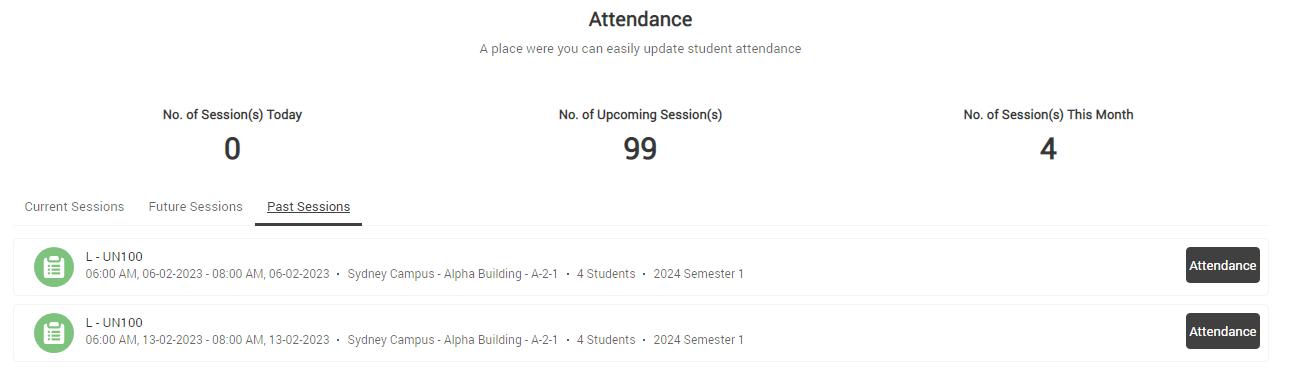
In the Builder, this is the 'Application' page.
This is already set up by default, but you can customize the background images and text.
You can also configure the properties of the RIO Ed - Attendance Session List (Aura) component such as the descriptions.
Grading
Info
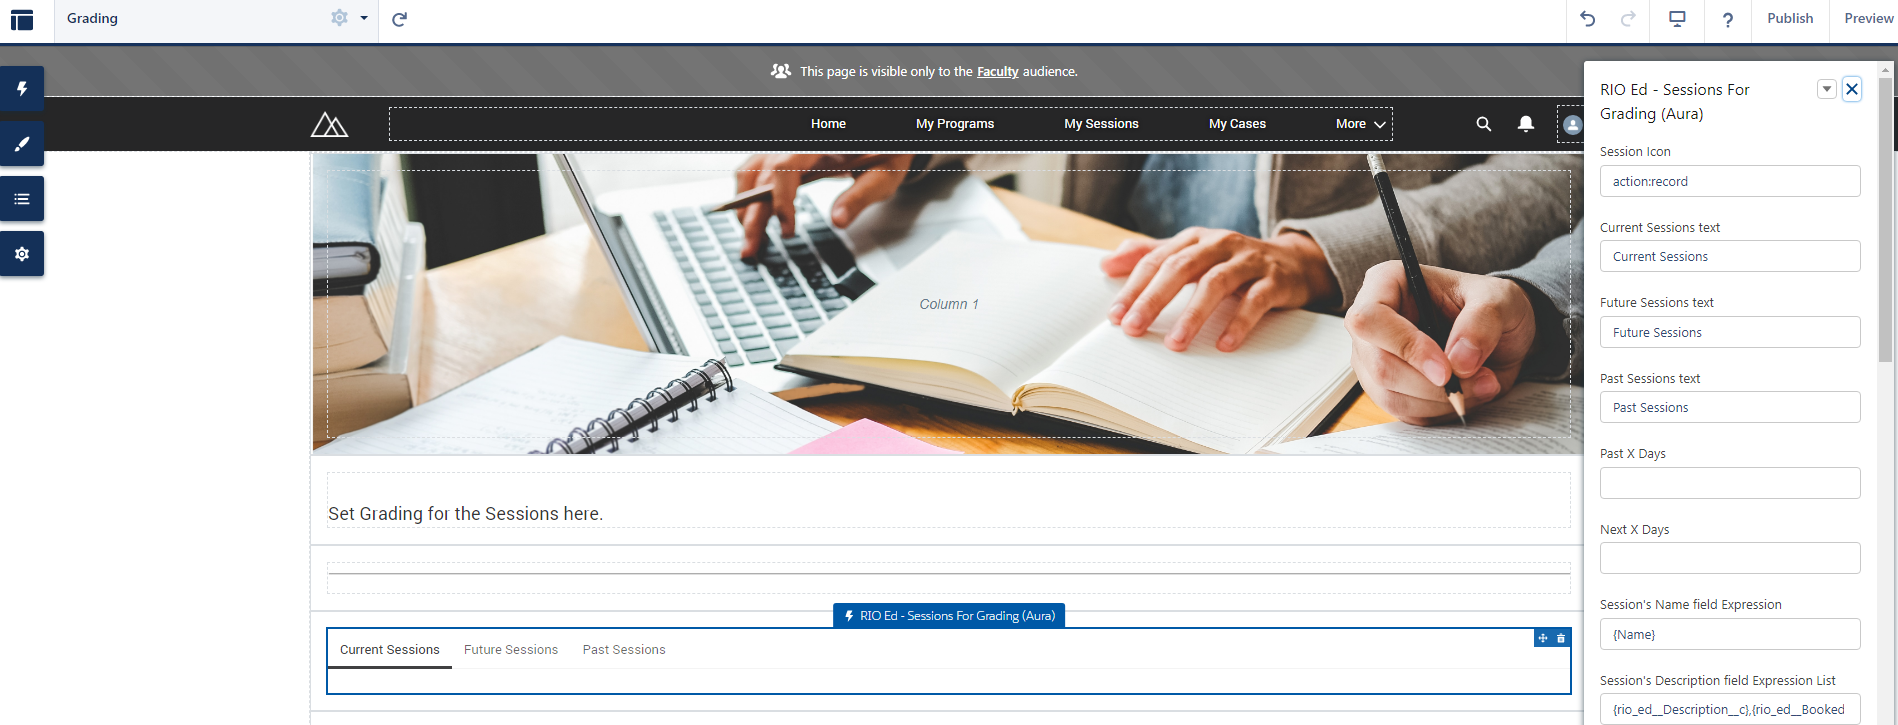
This page is accessible by clicking on the 'Grading' tile on the 'Programs' page.

In the Builder, this is the 'Grading' page.
This is already set up by default, but you can customize the background images and text.
You can also configure the properties of the RIO Ed - Sessions For Grading (Aura) component such as the descriptions, or to show different grade criteria, etc.
Sessions
Info
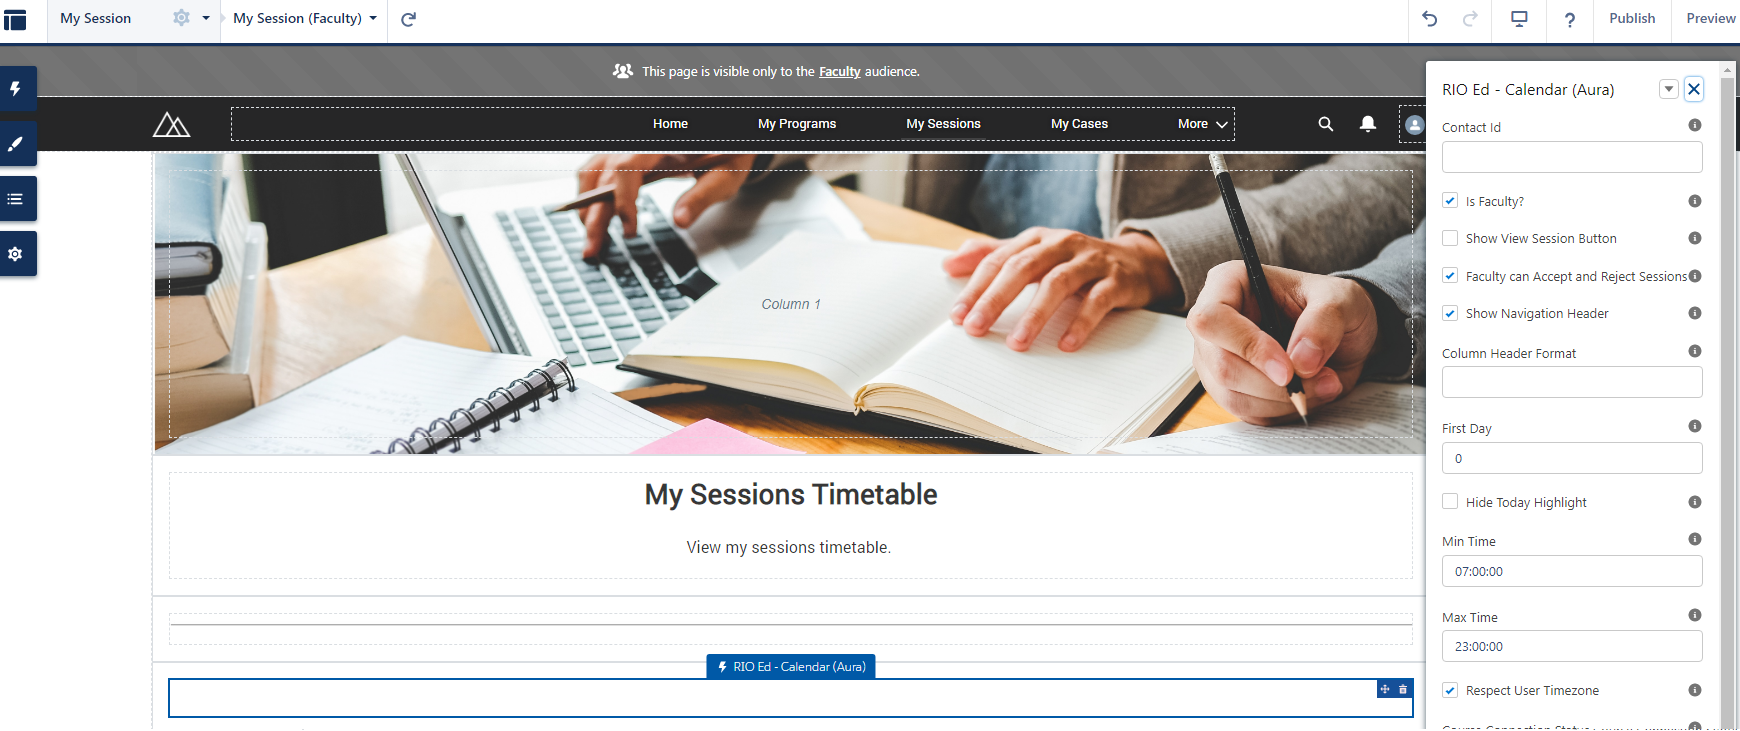
This page is accessible by clicking on the 'Sessions' page on the Faculty Community home page.
The calendar displays the Sessions (classes) that the faculty will be teaching.
In the Builder, this is the 'My Sessions (Faculty)' page.
This is already set up by default, but you can customize the background images and text.
You can also configure the properties of the RIO Ed - Calendar (Aura) component.
My Appointments
Info
This page is accessible by clicking on the 'My Appointments' button on the navigation menu (the bar at the top of the page).
Faculties can book appointments and venues.
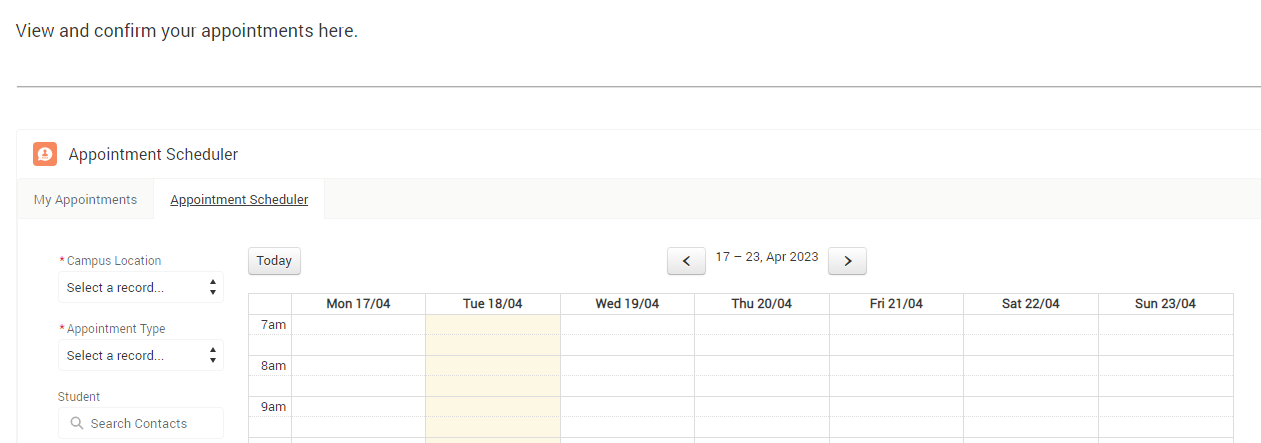
In the Builder, this is the 'My Appointments (Faculty)' page.
This is already set up by default, but you can customize the background images and text.
You can also configure the properties of the RIO Ed - Appointment Scheduler (Aura) component, e.g. different views of the same component for different audiences (student vs faculty).
DeleteTimesheet
Info
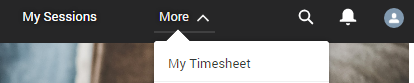
This page is accessible by clicking on 'My Timesheets' on the navigation menu (the bar at the top of the page).
- You can also make it accessible as a clickable tile on the home page (see here).
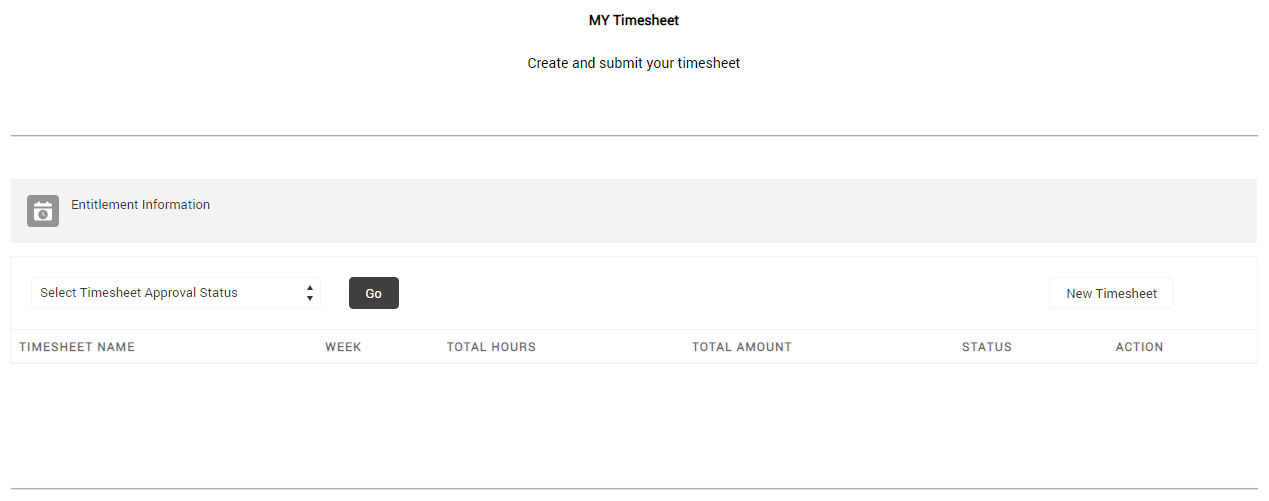
In the Builder, this is the 'My Timesheet' page.
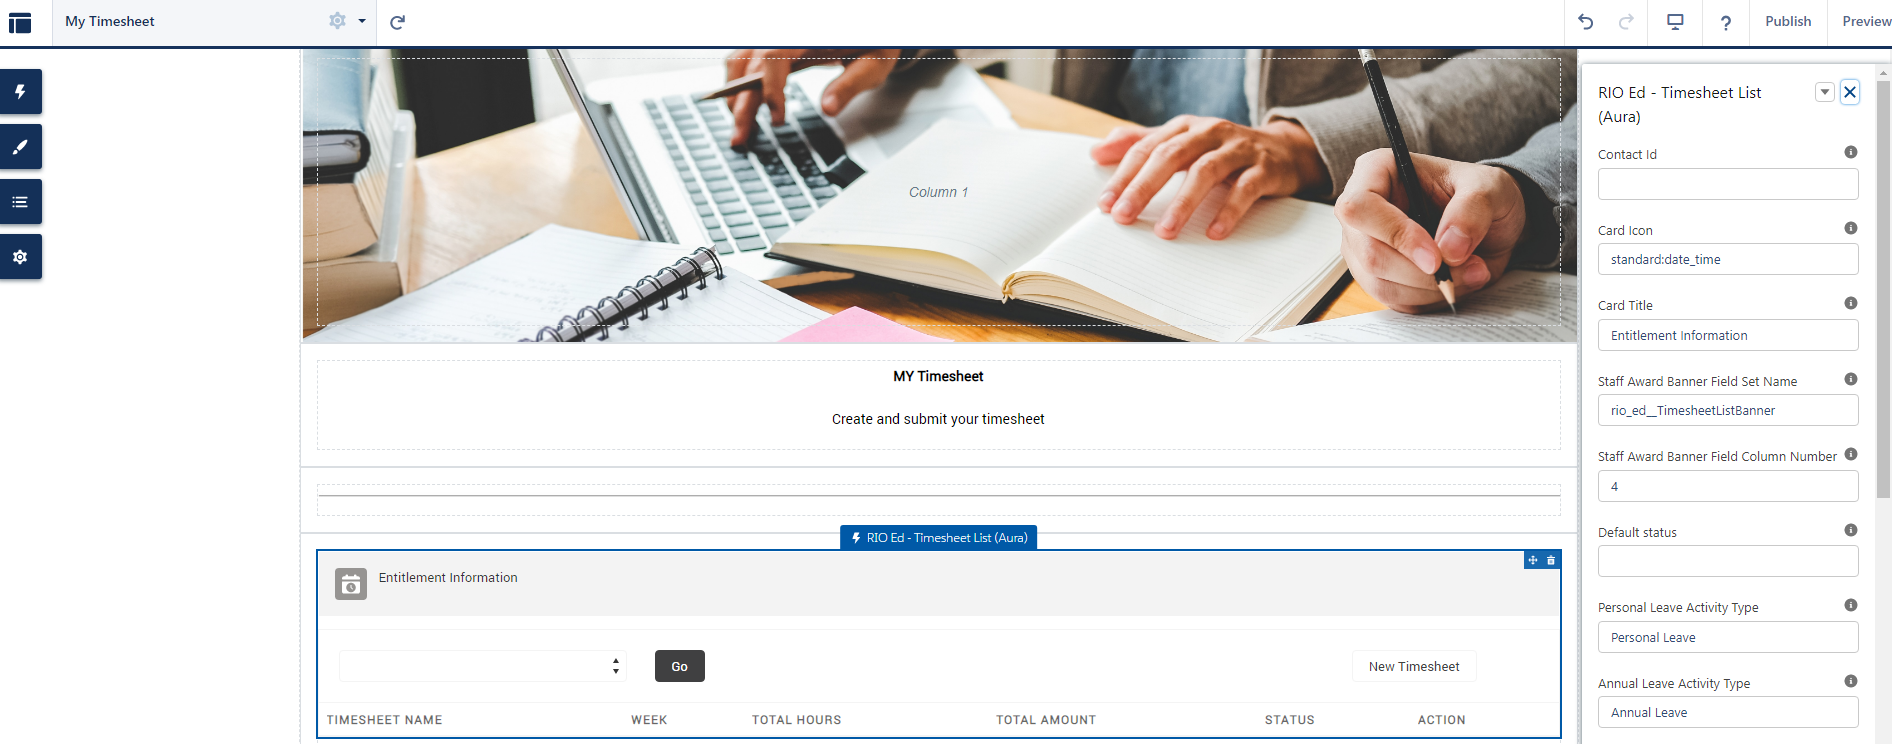
This is already set up by default, but you can customize the background images and text.
Note: If you are not using this page, you can hide its accessibility from users. See 'Other setups' > 'Add/Hide navigation access to pages'.
DeleteOther setups
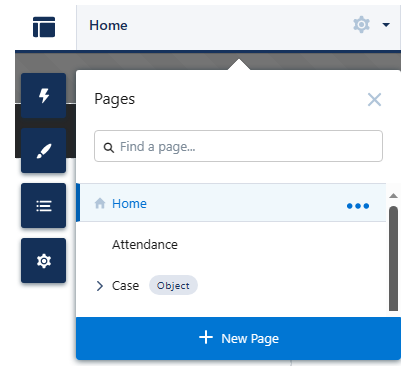
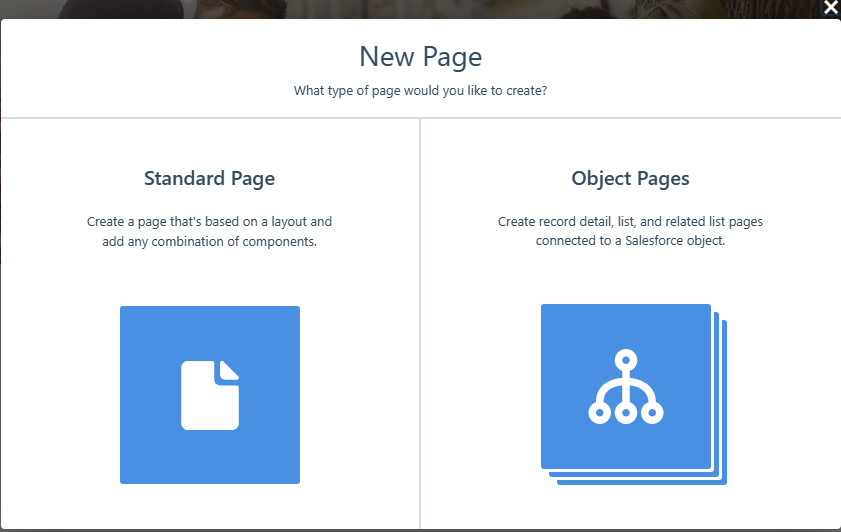
Creating new page
New pages can be created. This can either be a standard page, or a page connected to an object.
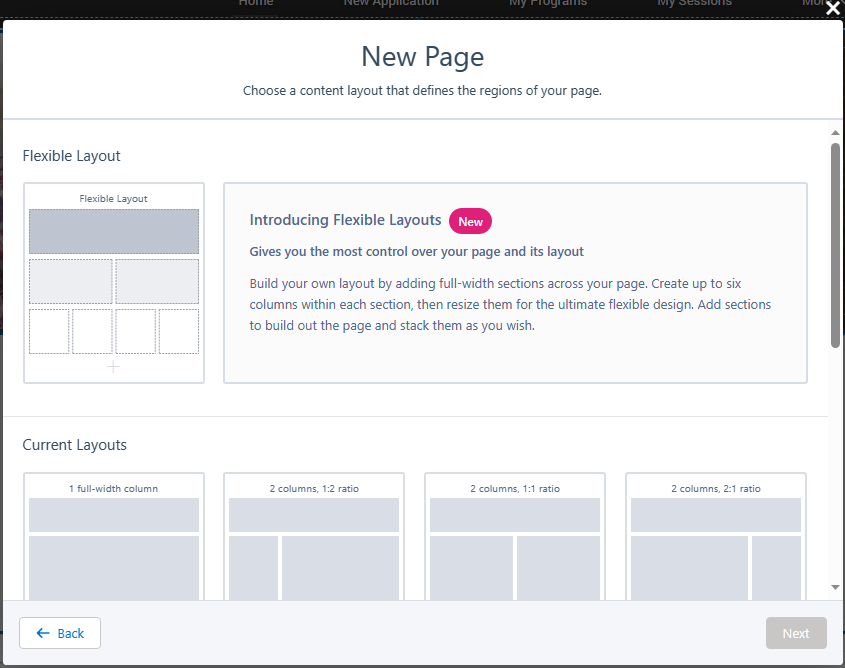
Page layout and components
There are multiple choices for page layouts.
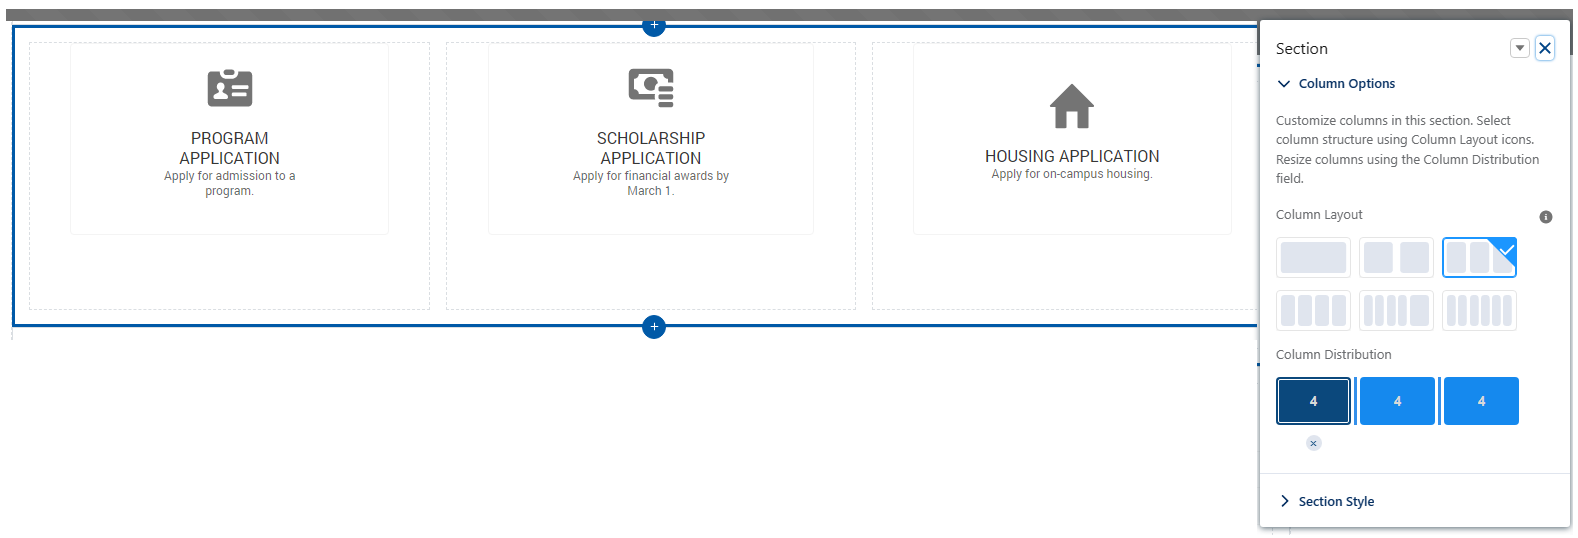
Column layouts in the page can be customized. For example, this is a 3 column layout, each containing a RIO Ed - My Tile (Aura) component.
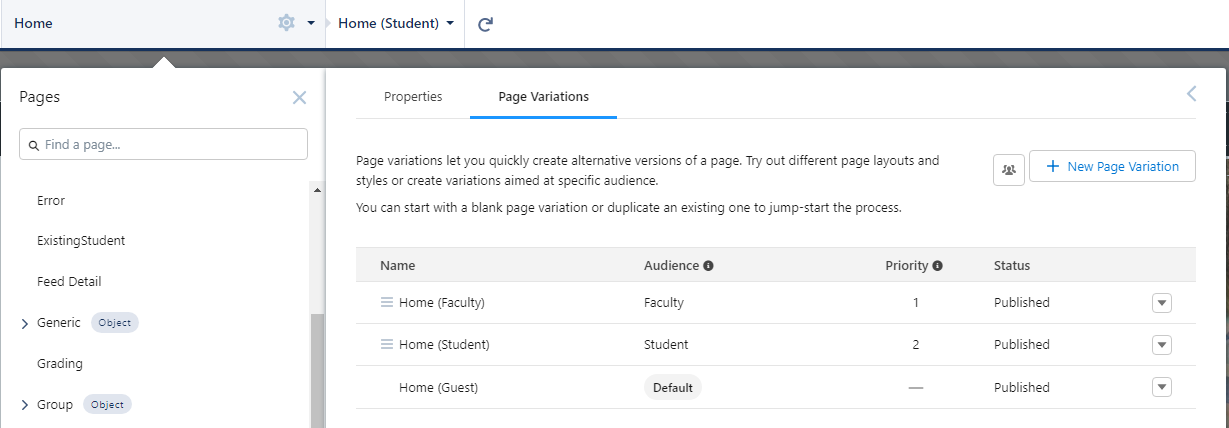
Page properties and visibility
You can configure the properties of a page such as the name and access (whether it is public, or requires login).
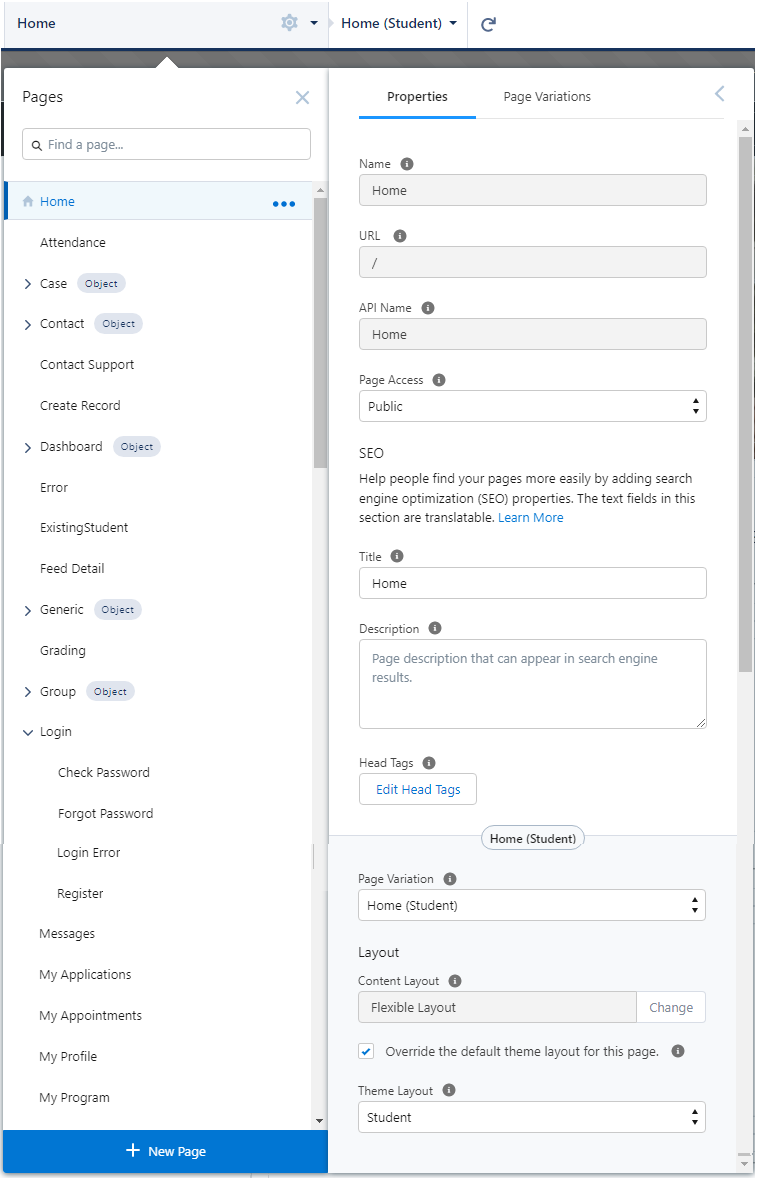
Page variations can also be set for different audiences. For example, different home pages for faculty and student.
Theme
The "Hero" component contains the background image and theme.
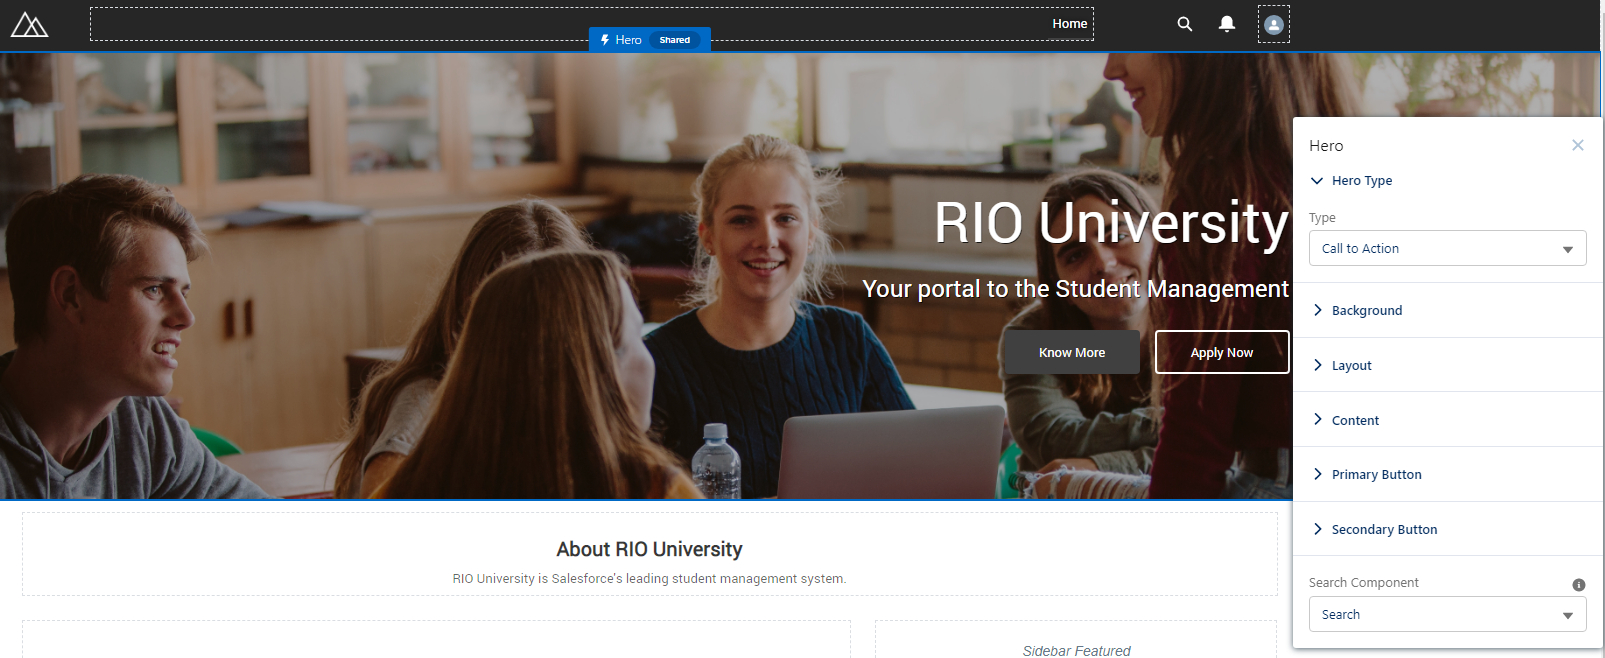
The default Type is "Call to Action", while the other is "Search".
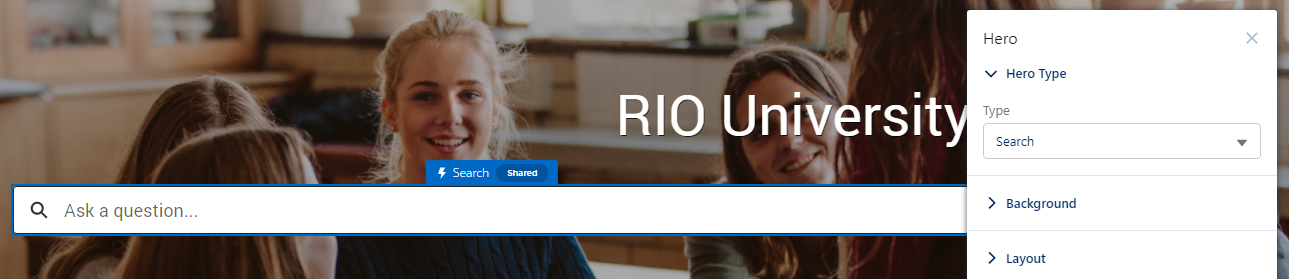
The background, layout, and text can be customized.
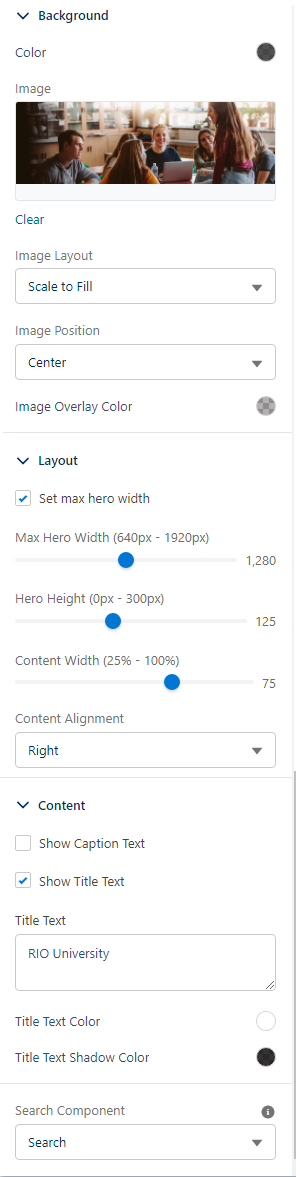
On individual pages, you can also change background image on the Section Style.
Add / hide navigation access to pages
Scenario:
You might have created a new page, but there is no way to access it via the Community.
OR
You have unpublished or deleted a page (e.g. your business requirements do not need 'Cases' or 'Transcripts'), but still need to remove the navigation from the Community.
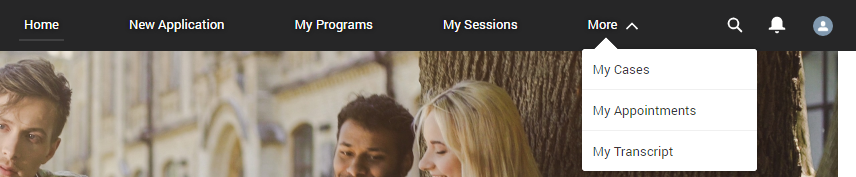
Navigation menu
The "Theme Navigation Menu" component is located at the top of the page, to allow quick and easy navigation to other pages, by clicking on the buttons.
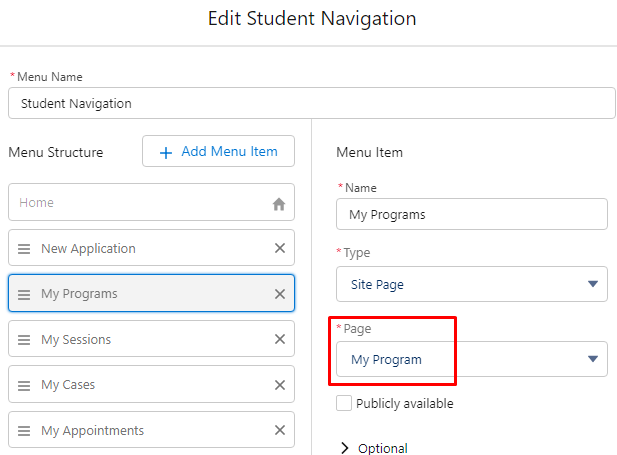
The Menu Structure can be modified by editing the navigation and adding / removing pages that can be accessed.

You can add menu items and specify which page will the button lead to.
Or, you can also remove the navigation access to a page.
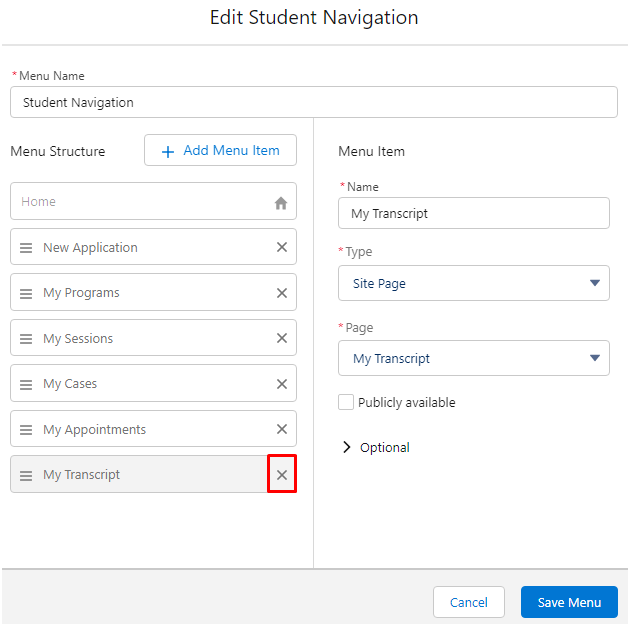
For example, if you remove the 'My Transcript' and 'Cases' items, the navigation menu will not have those two buttons, thus hiding those two pages.

Tiles
The RIO Ed - My Tile (Aura) component is a clickable tile that can direct the user to a specific page (based on the link).
Here is a list of icons that Salesforce provides.
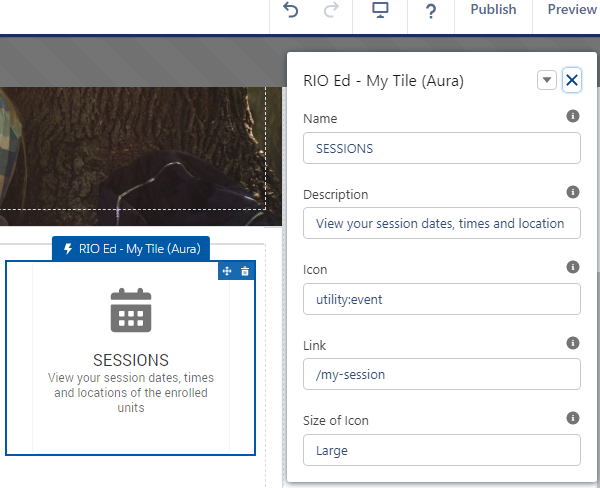
You can add / remove these tiles to control the navigation to other pages.
For example, if you delete the tiles for 'Cases' and 'Transcripts', navigation to those two pages will be removed.
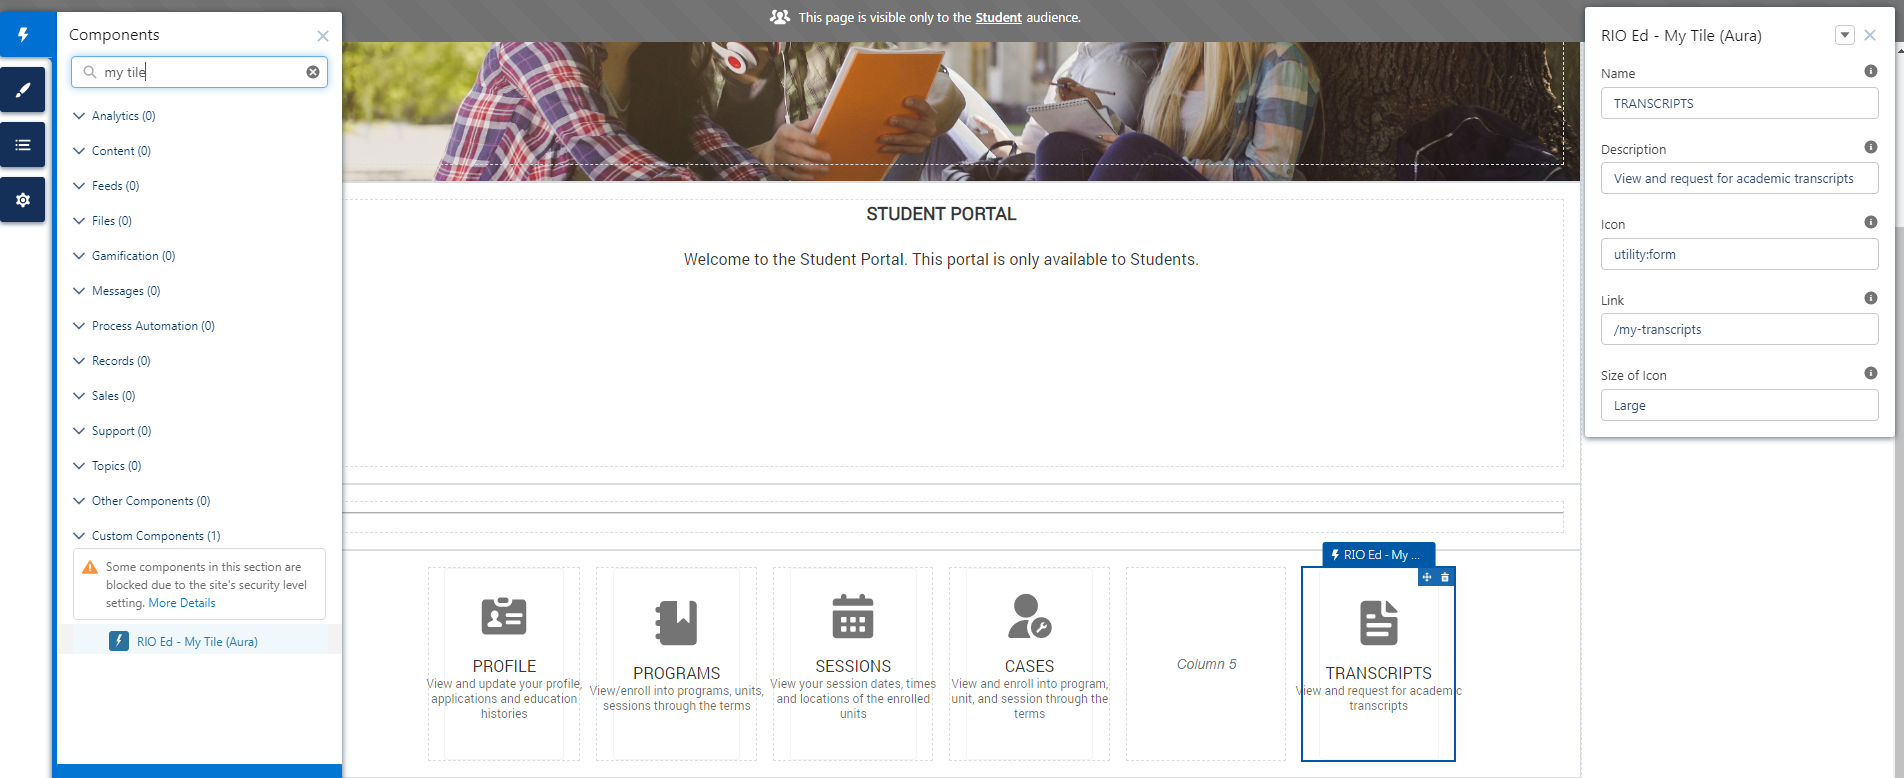
Take note that you can adjust the column layout to add more space for new tiles, or reduce the columns if you have deleted some tiles.